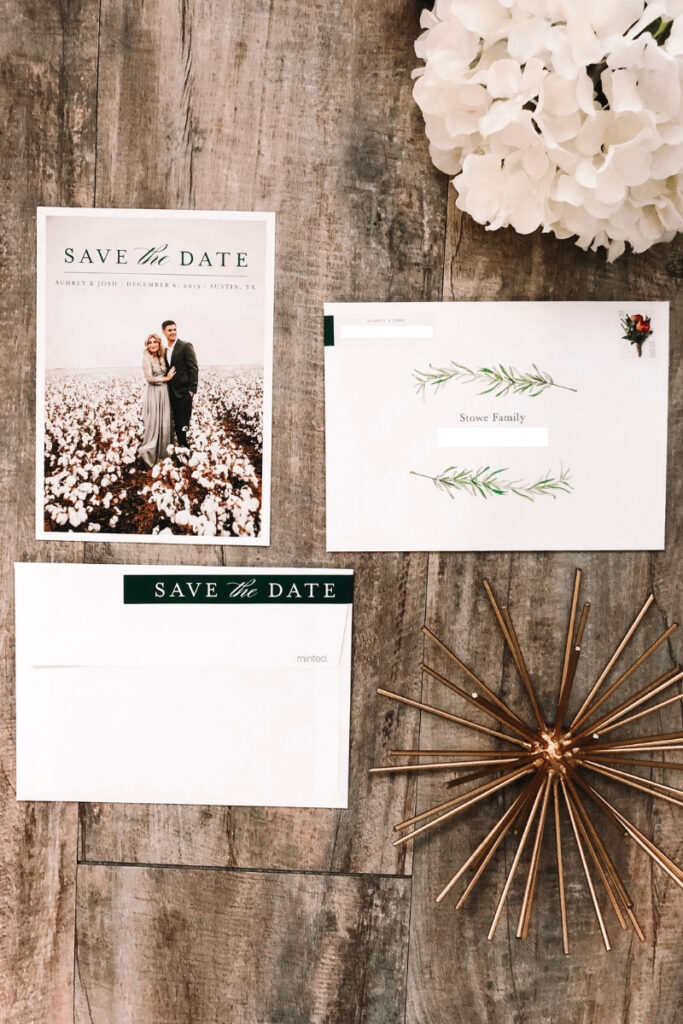
AHHH!!! Hello #weddingwednesday. Today, probably my most exciting post yet, our save the dates! I had so much fun designing these and putting together and the process took way longer than expected so let’s dive in!
Can I first start by saying gathering addresses was the biggest pain in the a**??? Excuse my language but Y’ALL. Why does no one talk about that haha!? I’m not sugar coating anything this year about my wedding and want to be real about some things along the way. But GEEZ. Trying to coordinate with our friends, having Josh text buddies he wanted from High school invited, then texting each of our mothers and getting family addresses and their friends…. O M G. I started gathering like right before Thanksgiving and it took a whole month to somewhat gather. People had address changes, my mom kept wanting to add more and more and holy moly. No one prepared me for that step hahahah. The good thing is that it’s done and now my wedding invites should be a piece of cake other than a few address updates. Anywho, had to get that off my chest hehe. 🙂
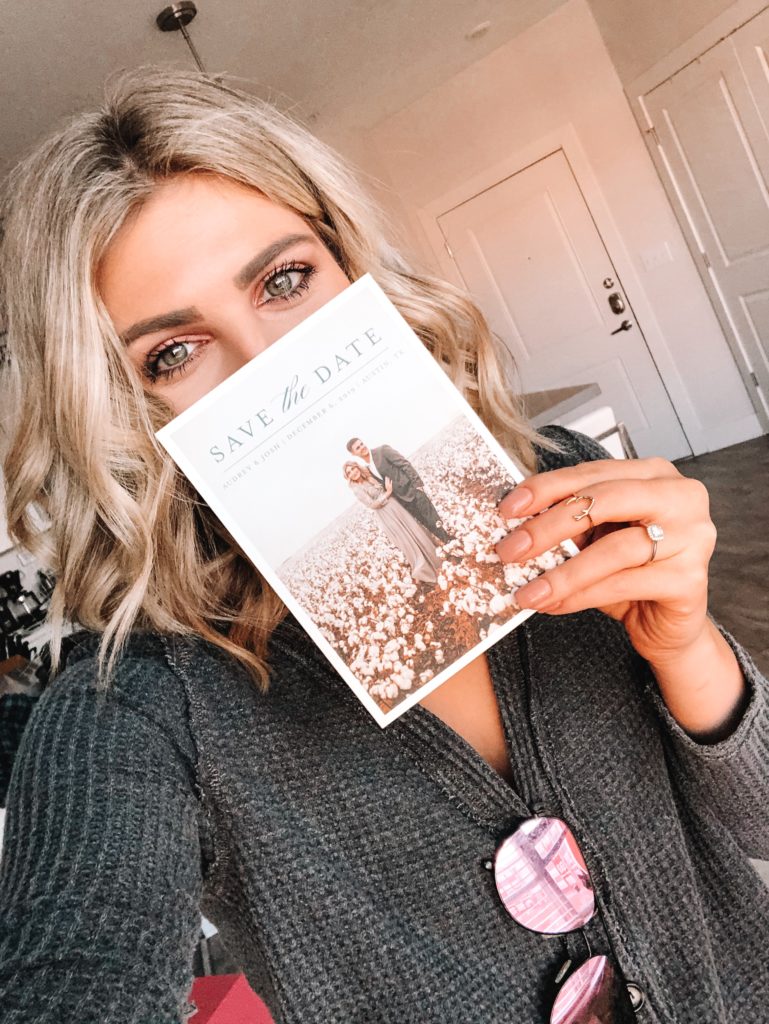
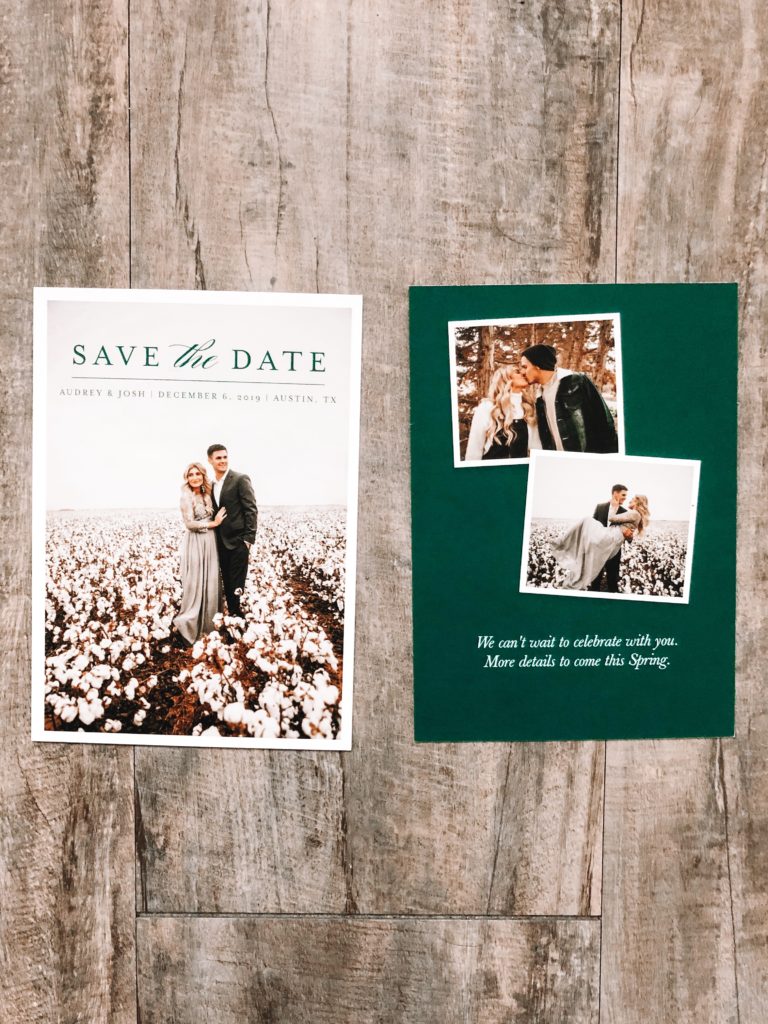
Save The Date Ideas:
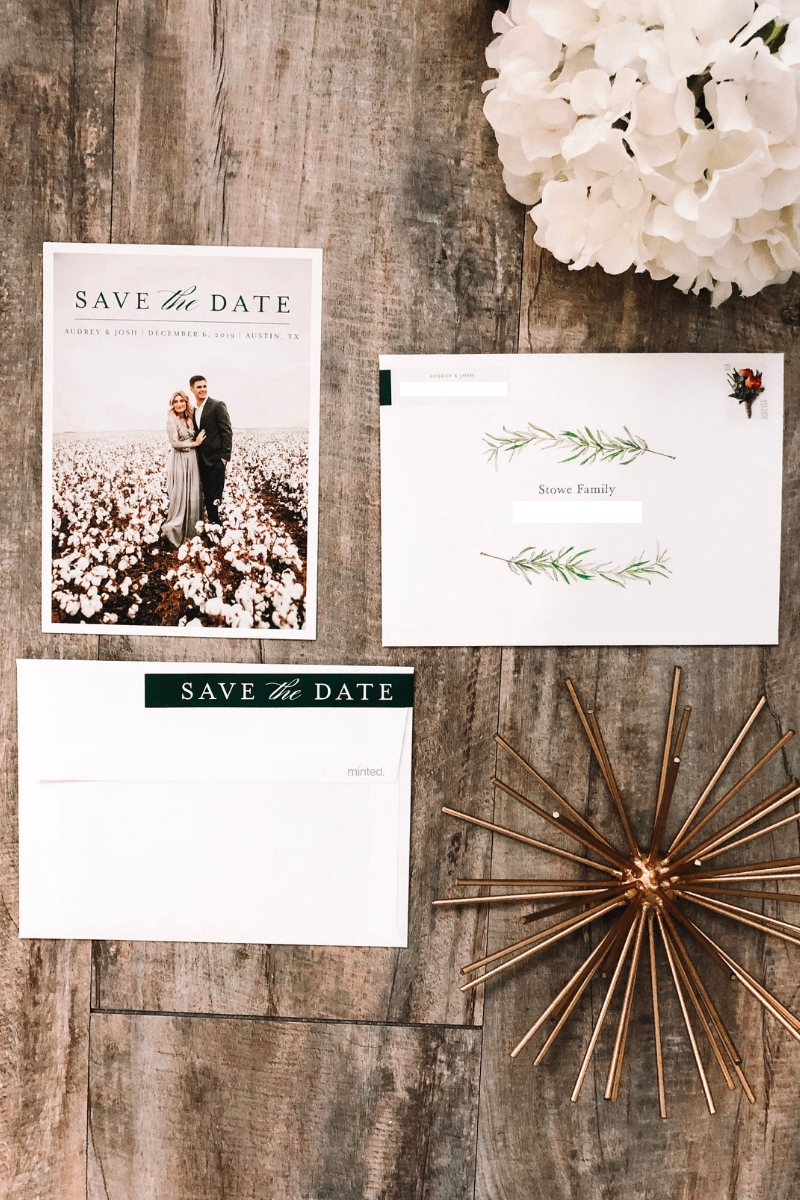
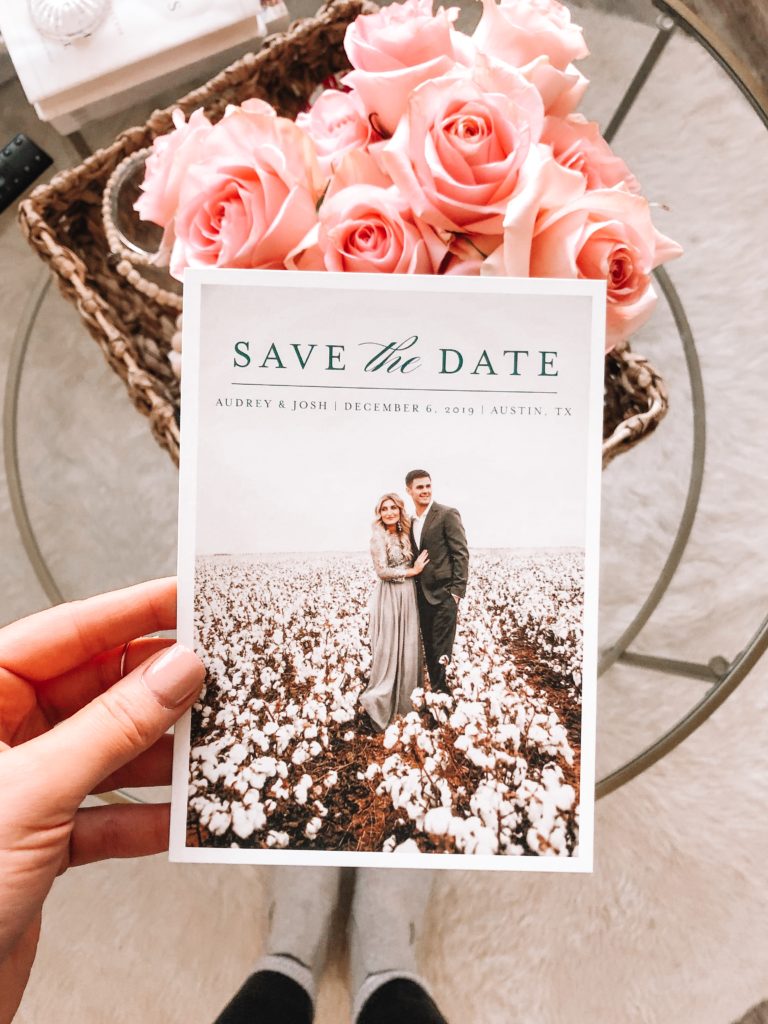
After gathering addresses (I gathered in a google spreadsheet by the way), I started looking at Minted for save the date ideas. We took our official engagement pics in November (I’ll share all of those soon), and I picked the main one that I wanted on the card. I went through like 50 designs putting that photo in each to see how it would look until I finally chose 3 favorites. I showed Josh and my mom and we decided on this design! I wanted something simple, yet a statement.
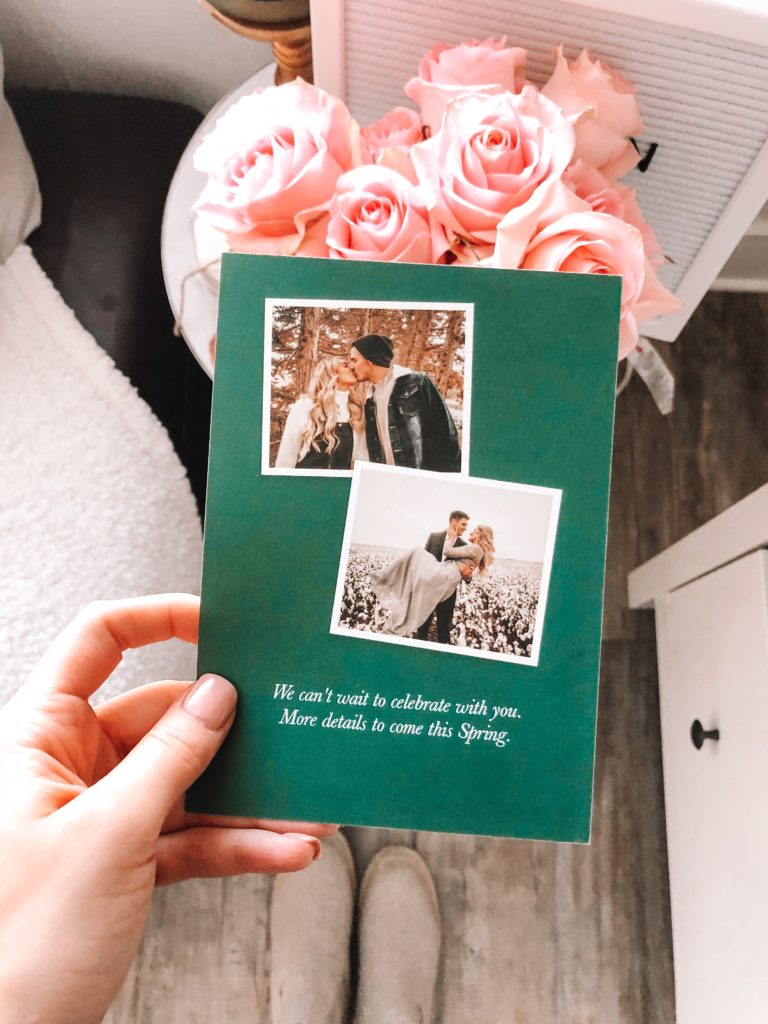
I love the heading of this and the details are short & sweet. For the back, we were a little stumped but I loved how it came out. I wasn’t really sure what to write? I’ve seen people list their wedding website, and further details on them but we wanted Save the Dates out as early as possible so I just put “We can’t wait to celebrate with you. More details to come this Spring” since I plan on sending Wedding Invites out around May.
After nailing down the front & back of the design, we moved on to the envelope. You could easily save money by doing a simple envelope, writing in the names and addresses. I really wanted these to look nice since I have the world’s worst handwriting. I chose this gorgeous greenery frame for the addresses and we uploaded our spreadsheet into minted and they filled it with all names and addresses. It was surprisingly SO EASY. From there, I saw they offered these skinny wrap labels so I also added those to the cart because I really love how simple and small it is. It lists our return address on them and the label wraps around to the back of the envelope that says ‘Save the Date’ so people see that when they are opening.
I love how everything turned out! Minted shipped them to the house and I just had to put all invites into envelopes. They give you an option to add customized stamps if you want to take your Save the Dates to the next level, but I chose to save a little money there and purchase my own stamps. I went on USPS and ordered the closest fitting stamp I could find. Josh was like “why can’t you just buy USA stamps” AS IF I was going to put red, white, and blue stamps on these hahahaha. Ugh, men! 😉 But I found this gorgeous blush and green bouquet stamp that fit our theme and I purchased! I feel like the stamp really pulls everything together.
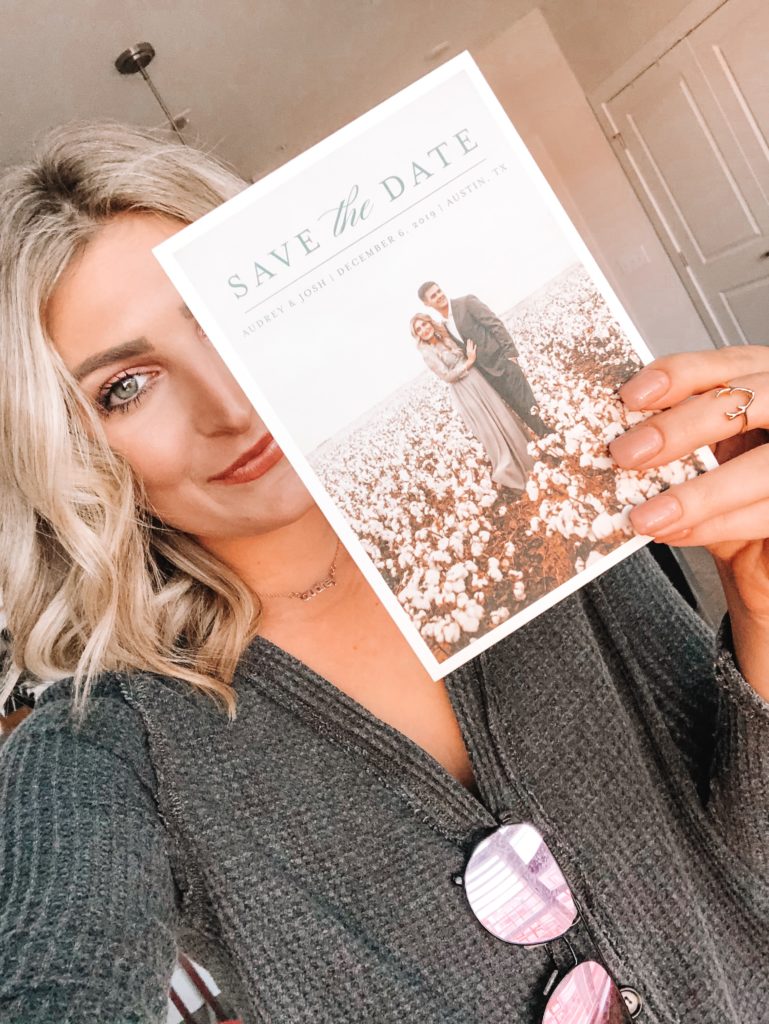
And those are our save the date ideas! I love how they turned out and it’s making me so happy seeing friends and family text and post that they’ve received theirs!! Thanks for reading about being a part of this journey with me. XO!
Loving this save the date ideas feature? Take a look here for more of my wedding favorites!
You May Also Like:
2024 Audrey Martinez | Brand and Website by Embolden
The Blog
The Site
Join the List
Sign up for my monthly catchup of life events,
product roundups, exclusive content and more!
