This shop has been compensated by Collective Bias, Inc. and its advertiser. All opinions are mine alone. #MNYLookstoLove #CollectiveBias
Happy Friday y’all!
Contouring is one of my favorite things to do (other than my foundation) in my makeup routine. I think it’s so neat how your faces dimensions can stand out with a touch of bronzer, and your skin can look healthy and luminous with a hint of highlight. Thanks to Maybelline, I can show y’all exactly how to contour your face to define all of those amazing features!
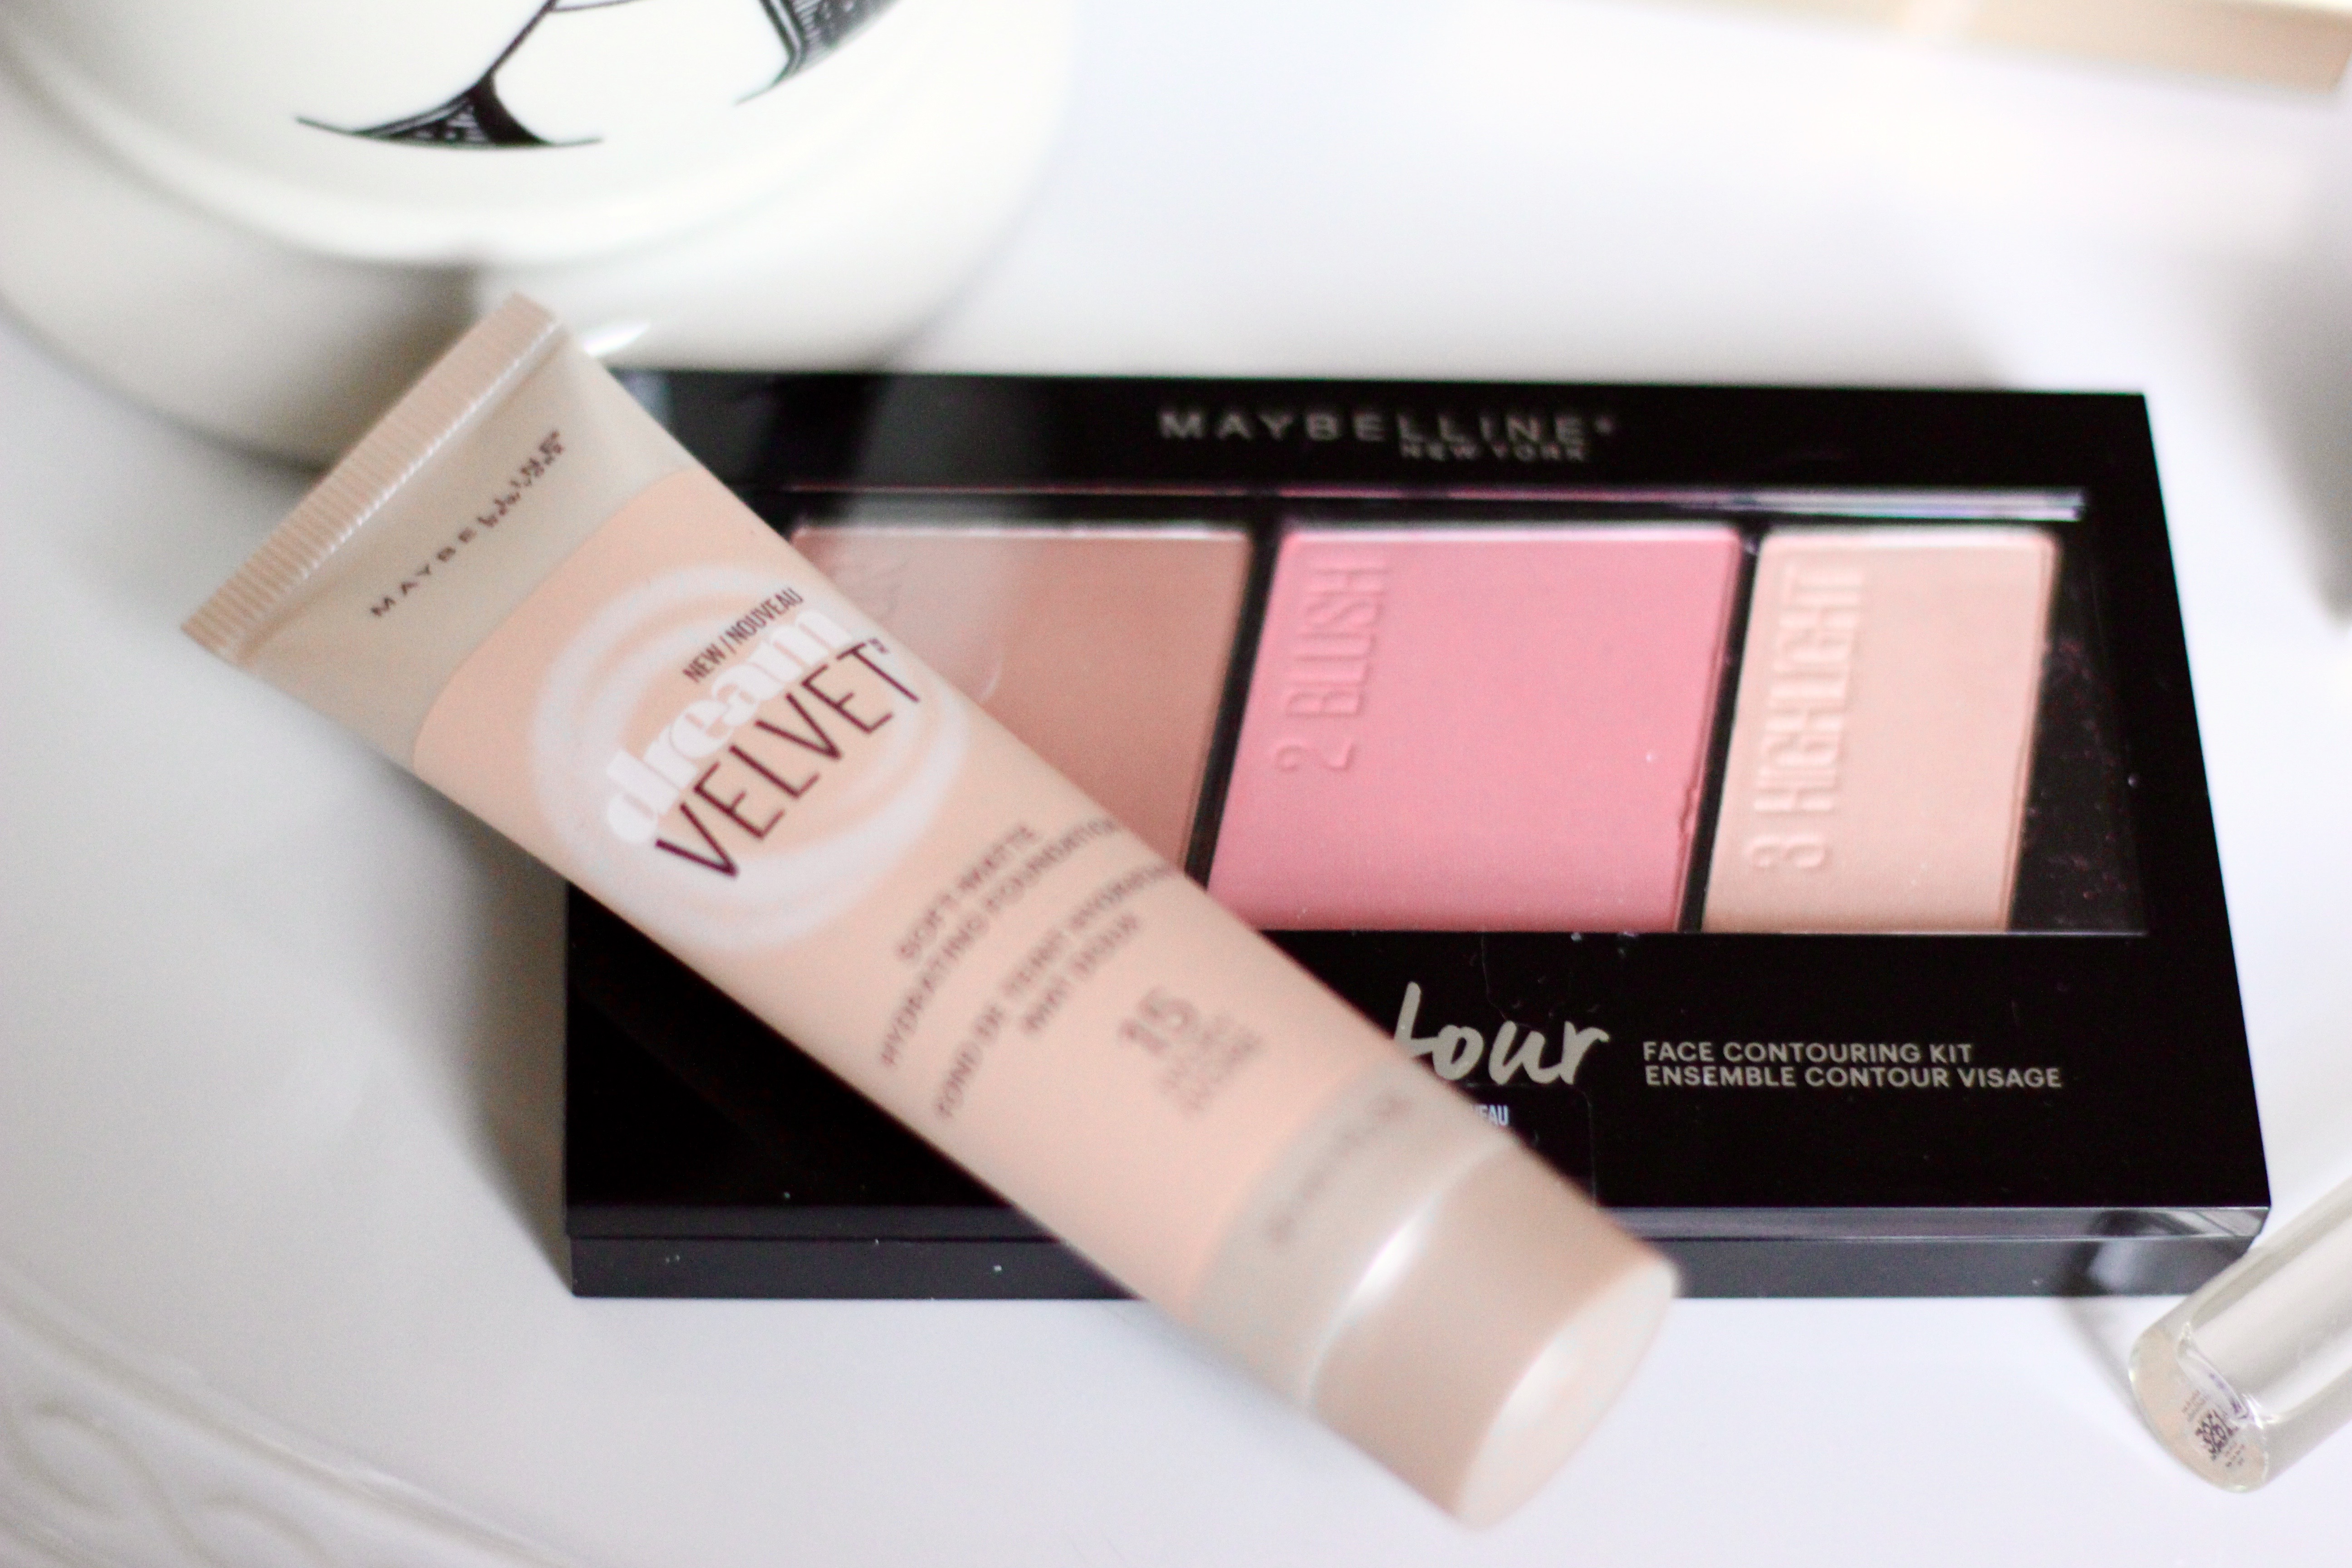
These are the two of the three main products you can grab from Maybelline to get the look I create. It’s affordable, it’s easy, and I mean what’s better than that!?

I like to start with my Dream Velvet Foundation, and this little Dream Velvet Blender.The blender blends the foundation in flawlessly. It’s a must have tool to get a smooth foundation finish! I like to typically do two layers for full coverage. This foundation is a serious favorite… it has a hydrating matte formula that dries to a velvet smooth finish. I like how easily it goes on my skin, as it serves as the perfect base before any contouring takes place. This foundation is ideal for normal to combo skin. For best results, dampen the blender, and apply the gel whipped foundation. (It also keeps your skin hydrated for 12 hours, score!!)
Now on to the fun part!
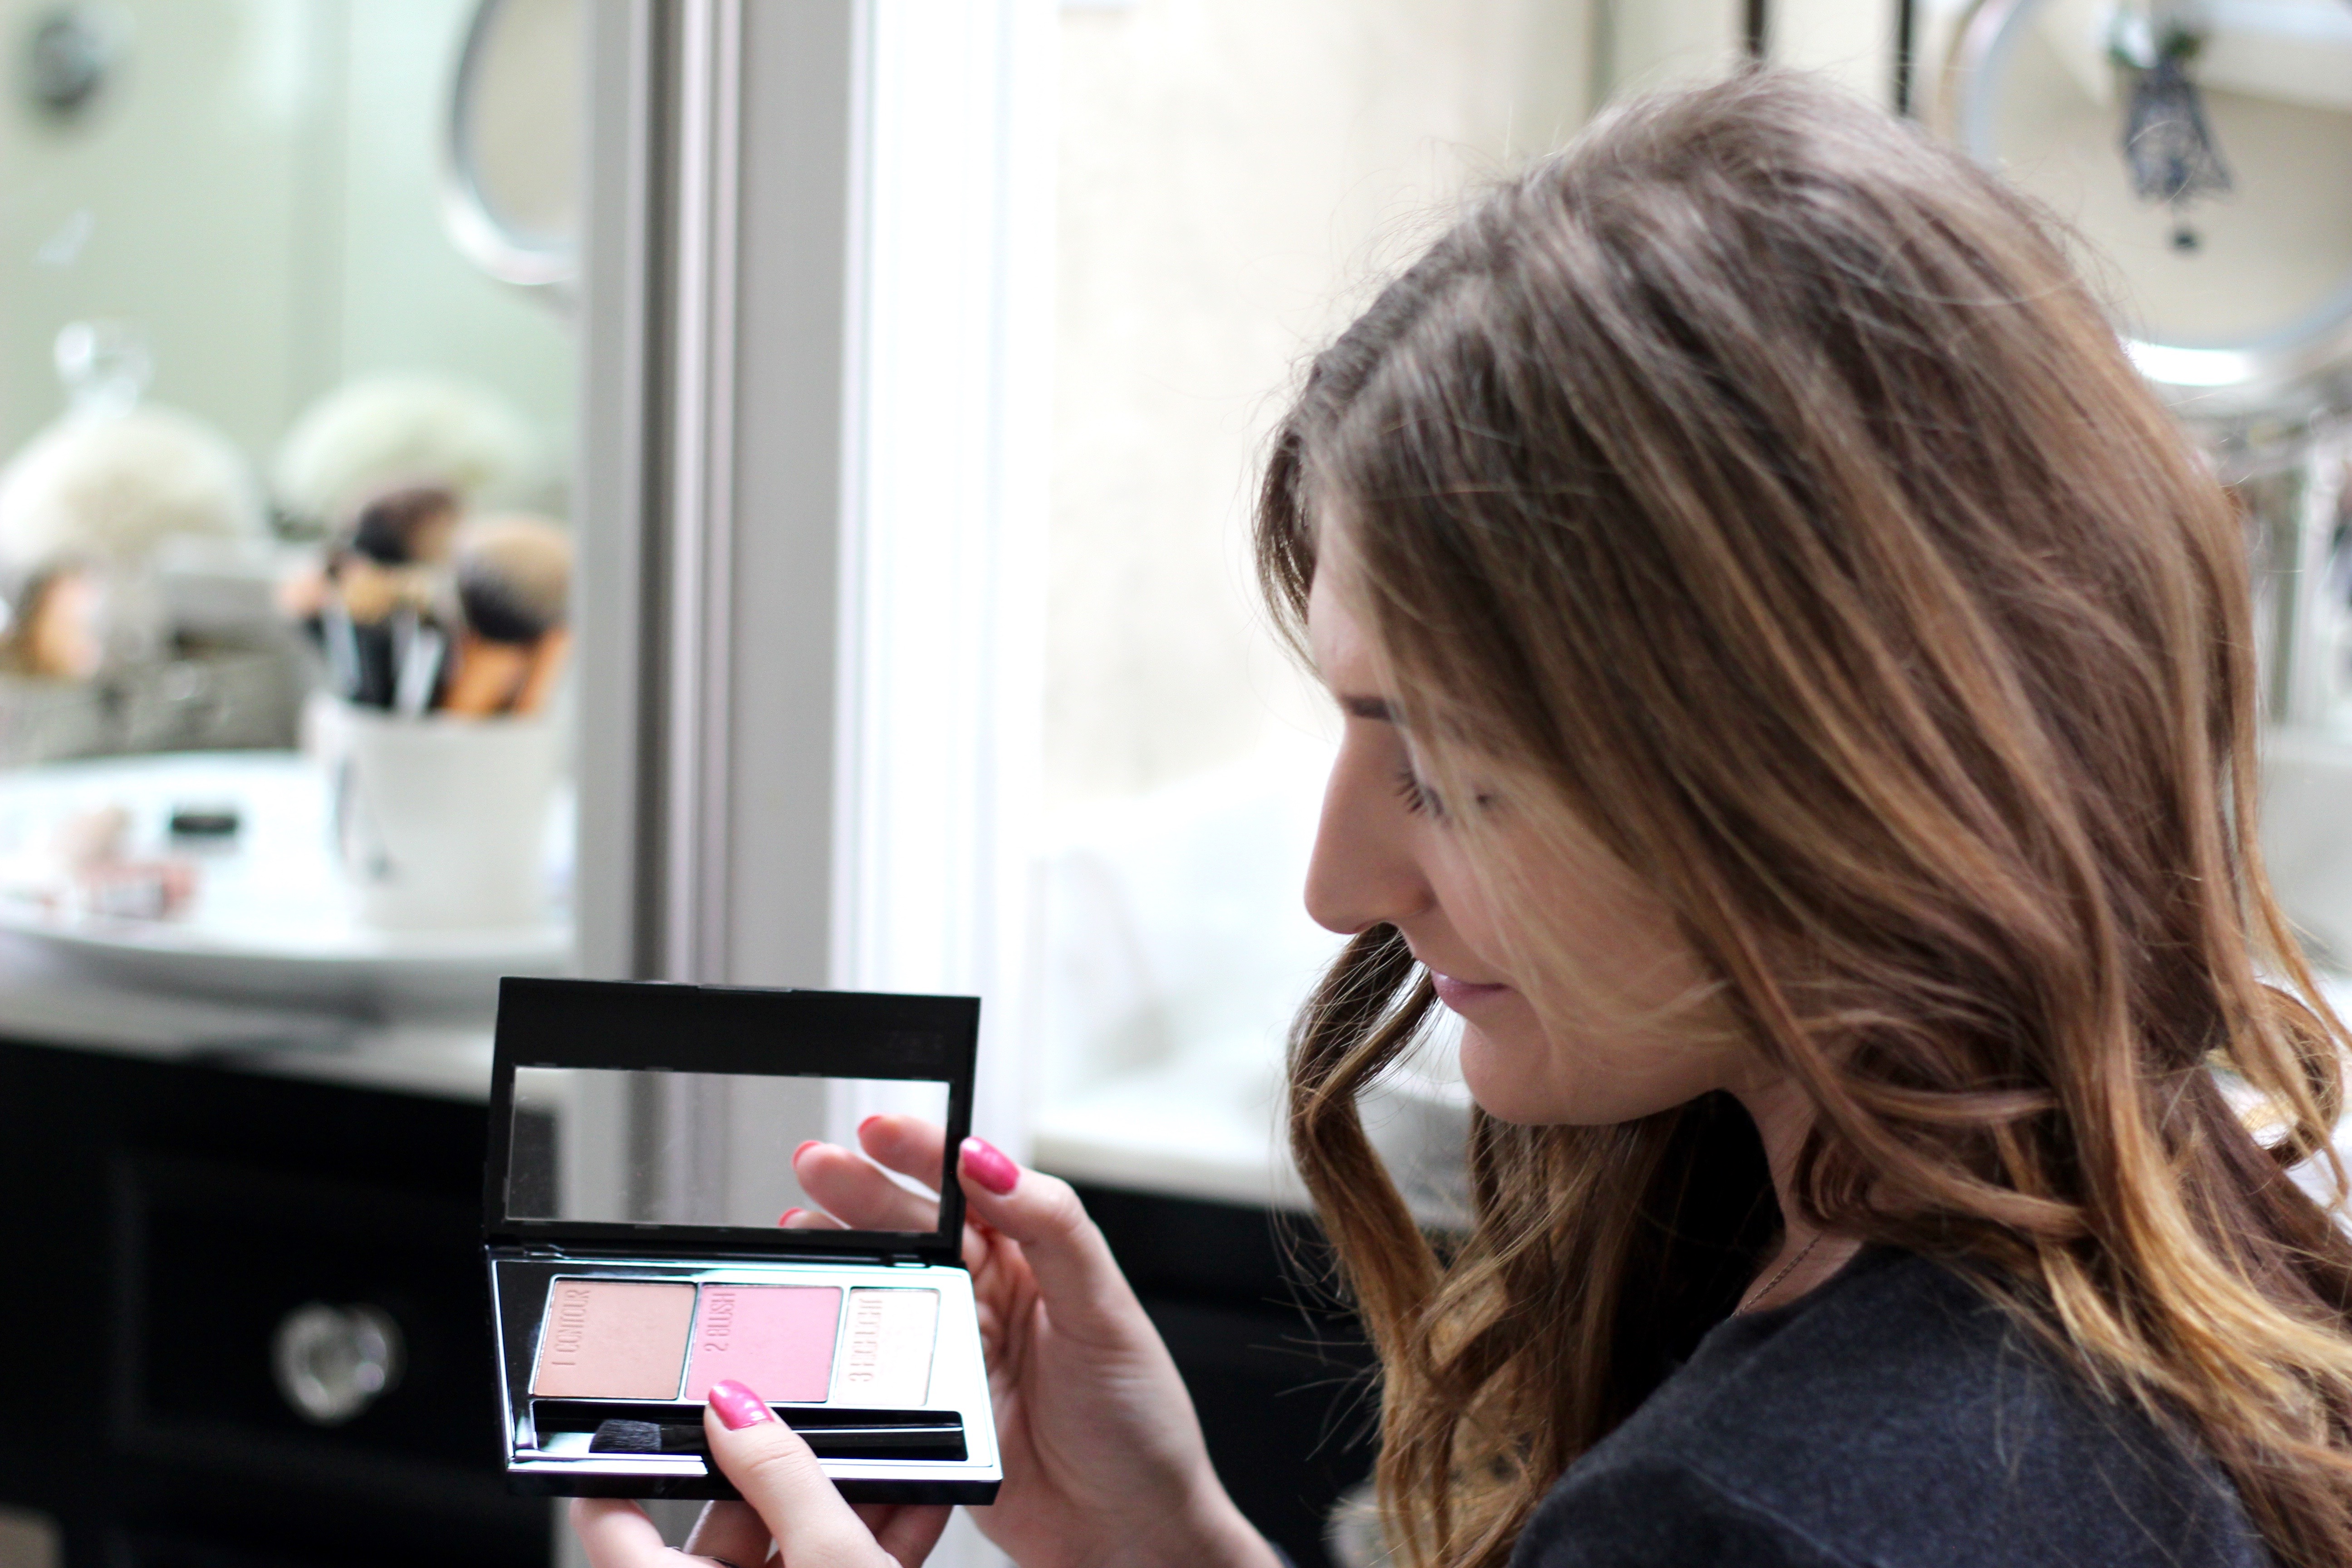
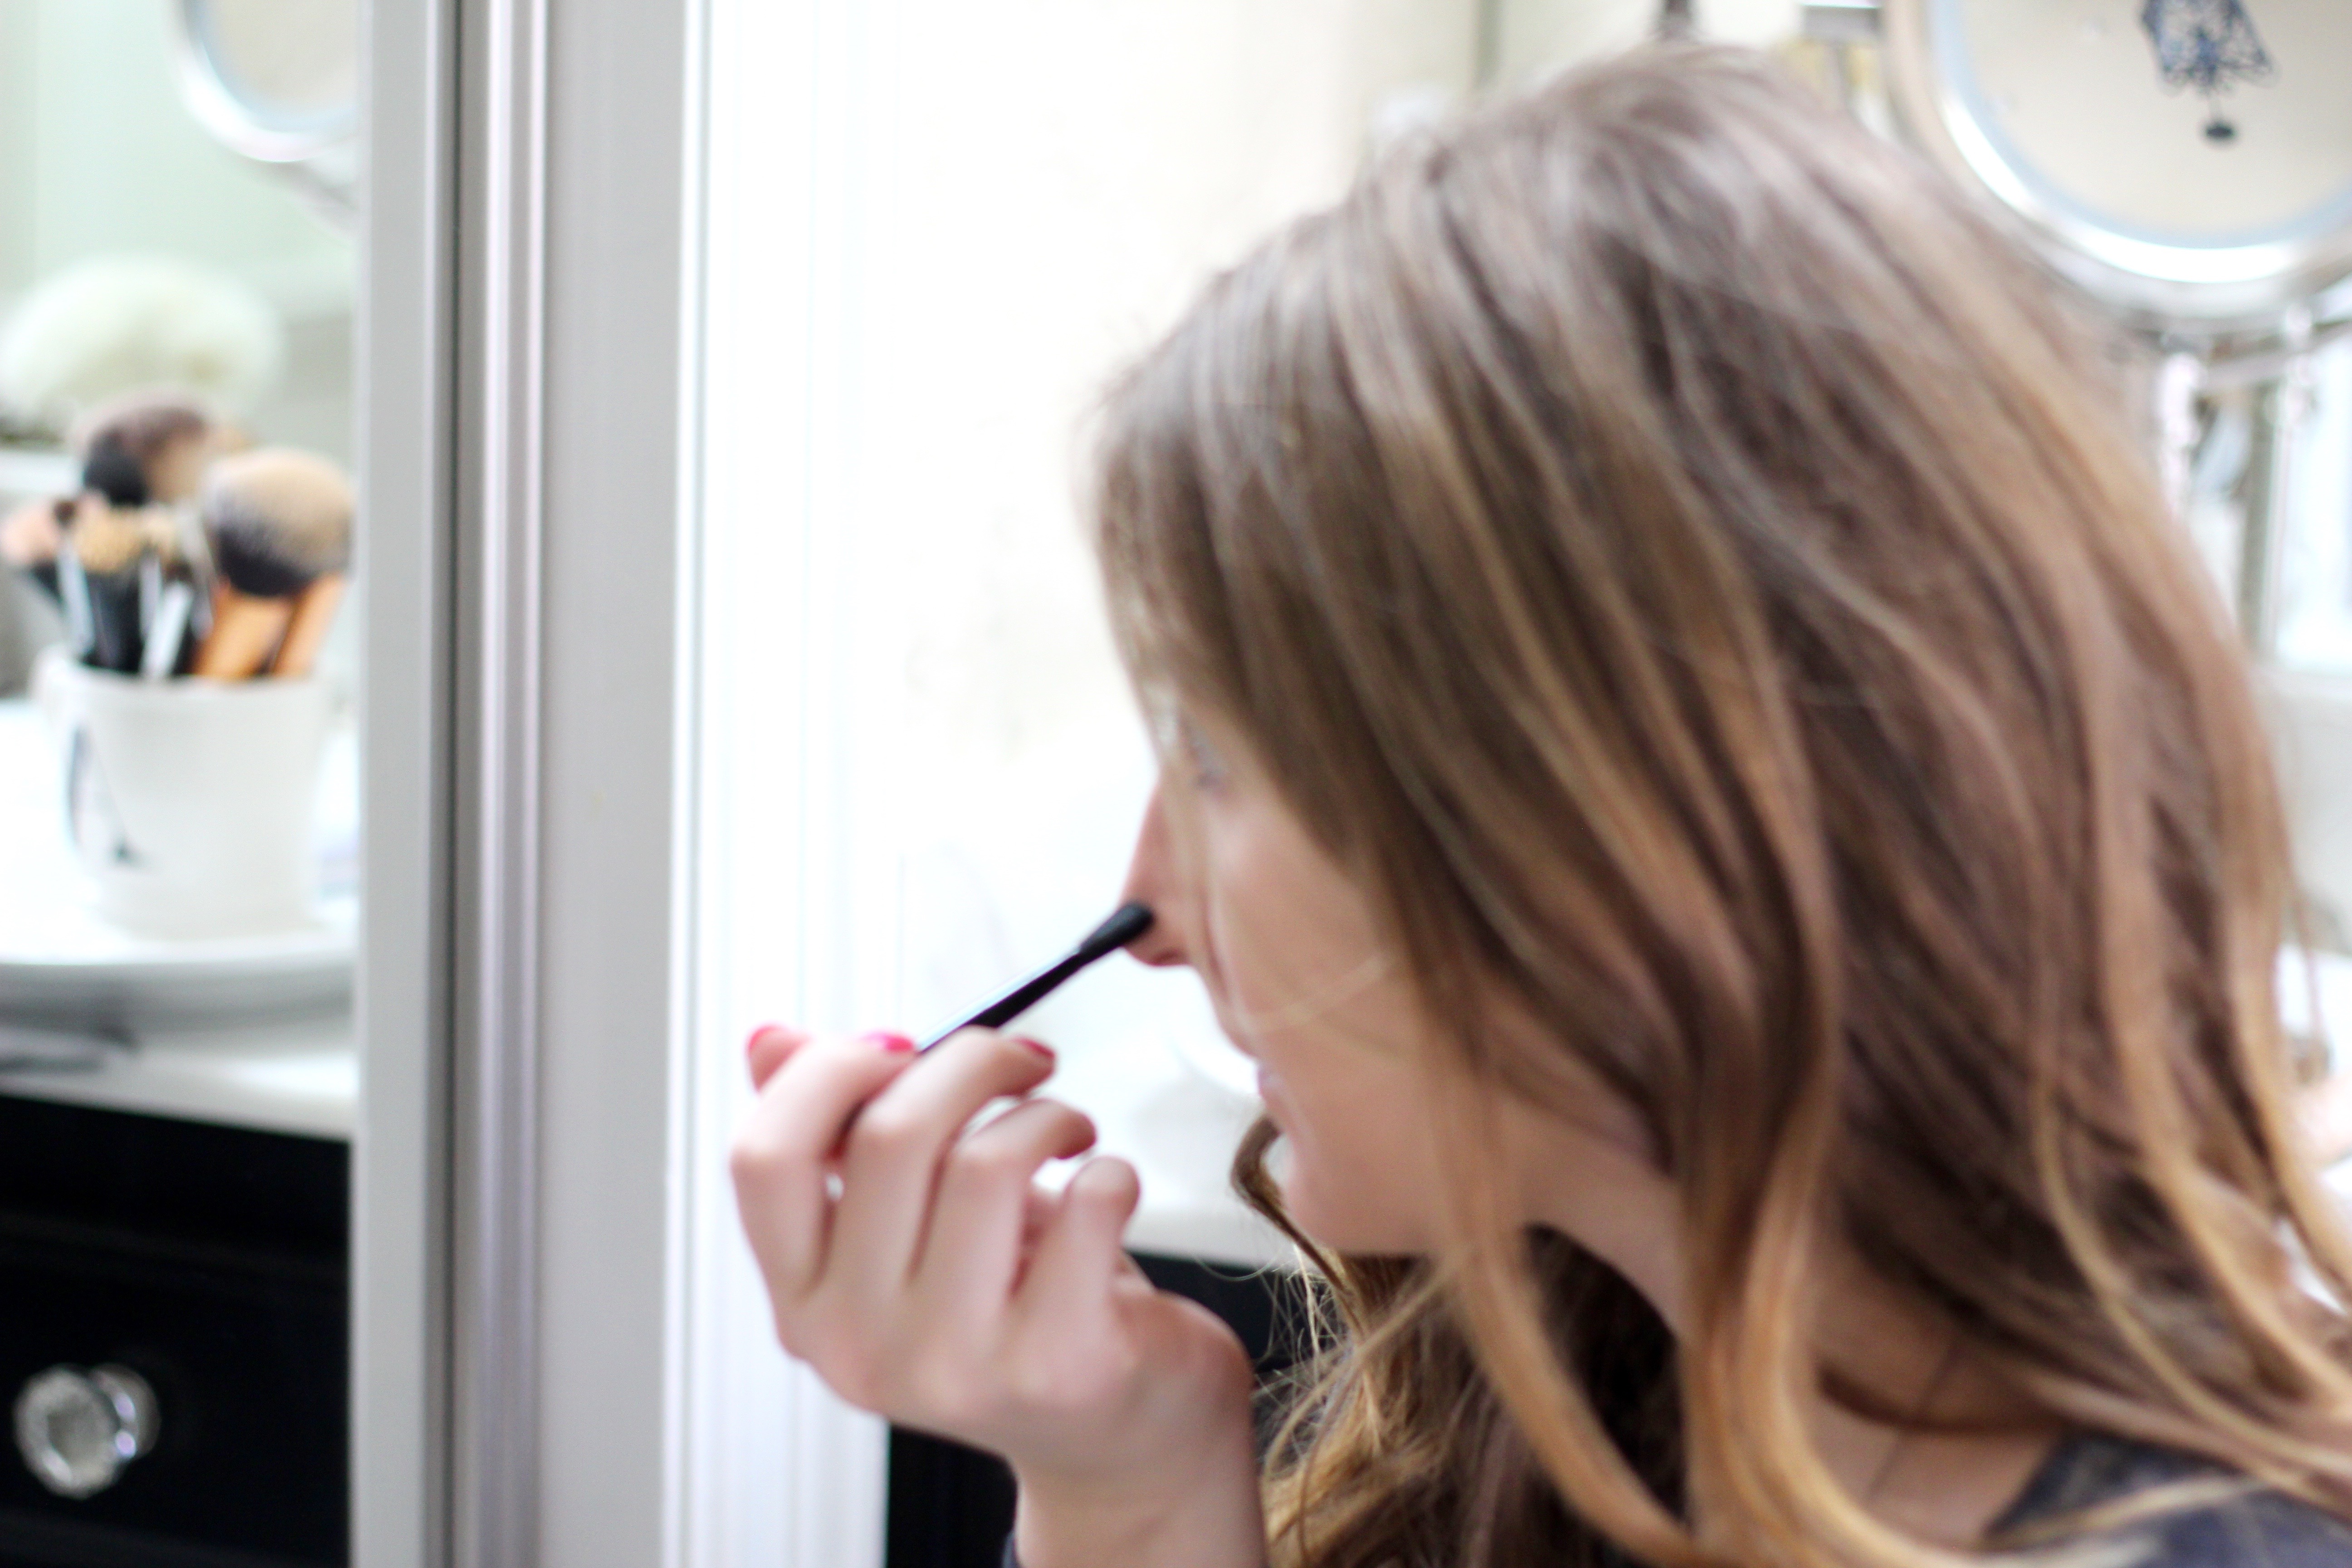
The Maybelline Master Contour palette makes it super easy on you, providing you with the three necessities. I first begin with the bronzer. I take the small brush it comes with to contour the sides of my nose. This gives your nose a slimming look. I then take a contour brush and begin sculpting out my cheekbones. This is my favorite because I can see such a difference in the way my face looks. I also bring it up to my forehead, where my temples are. 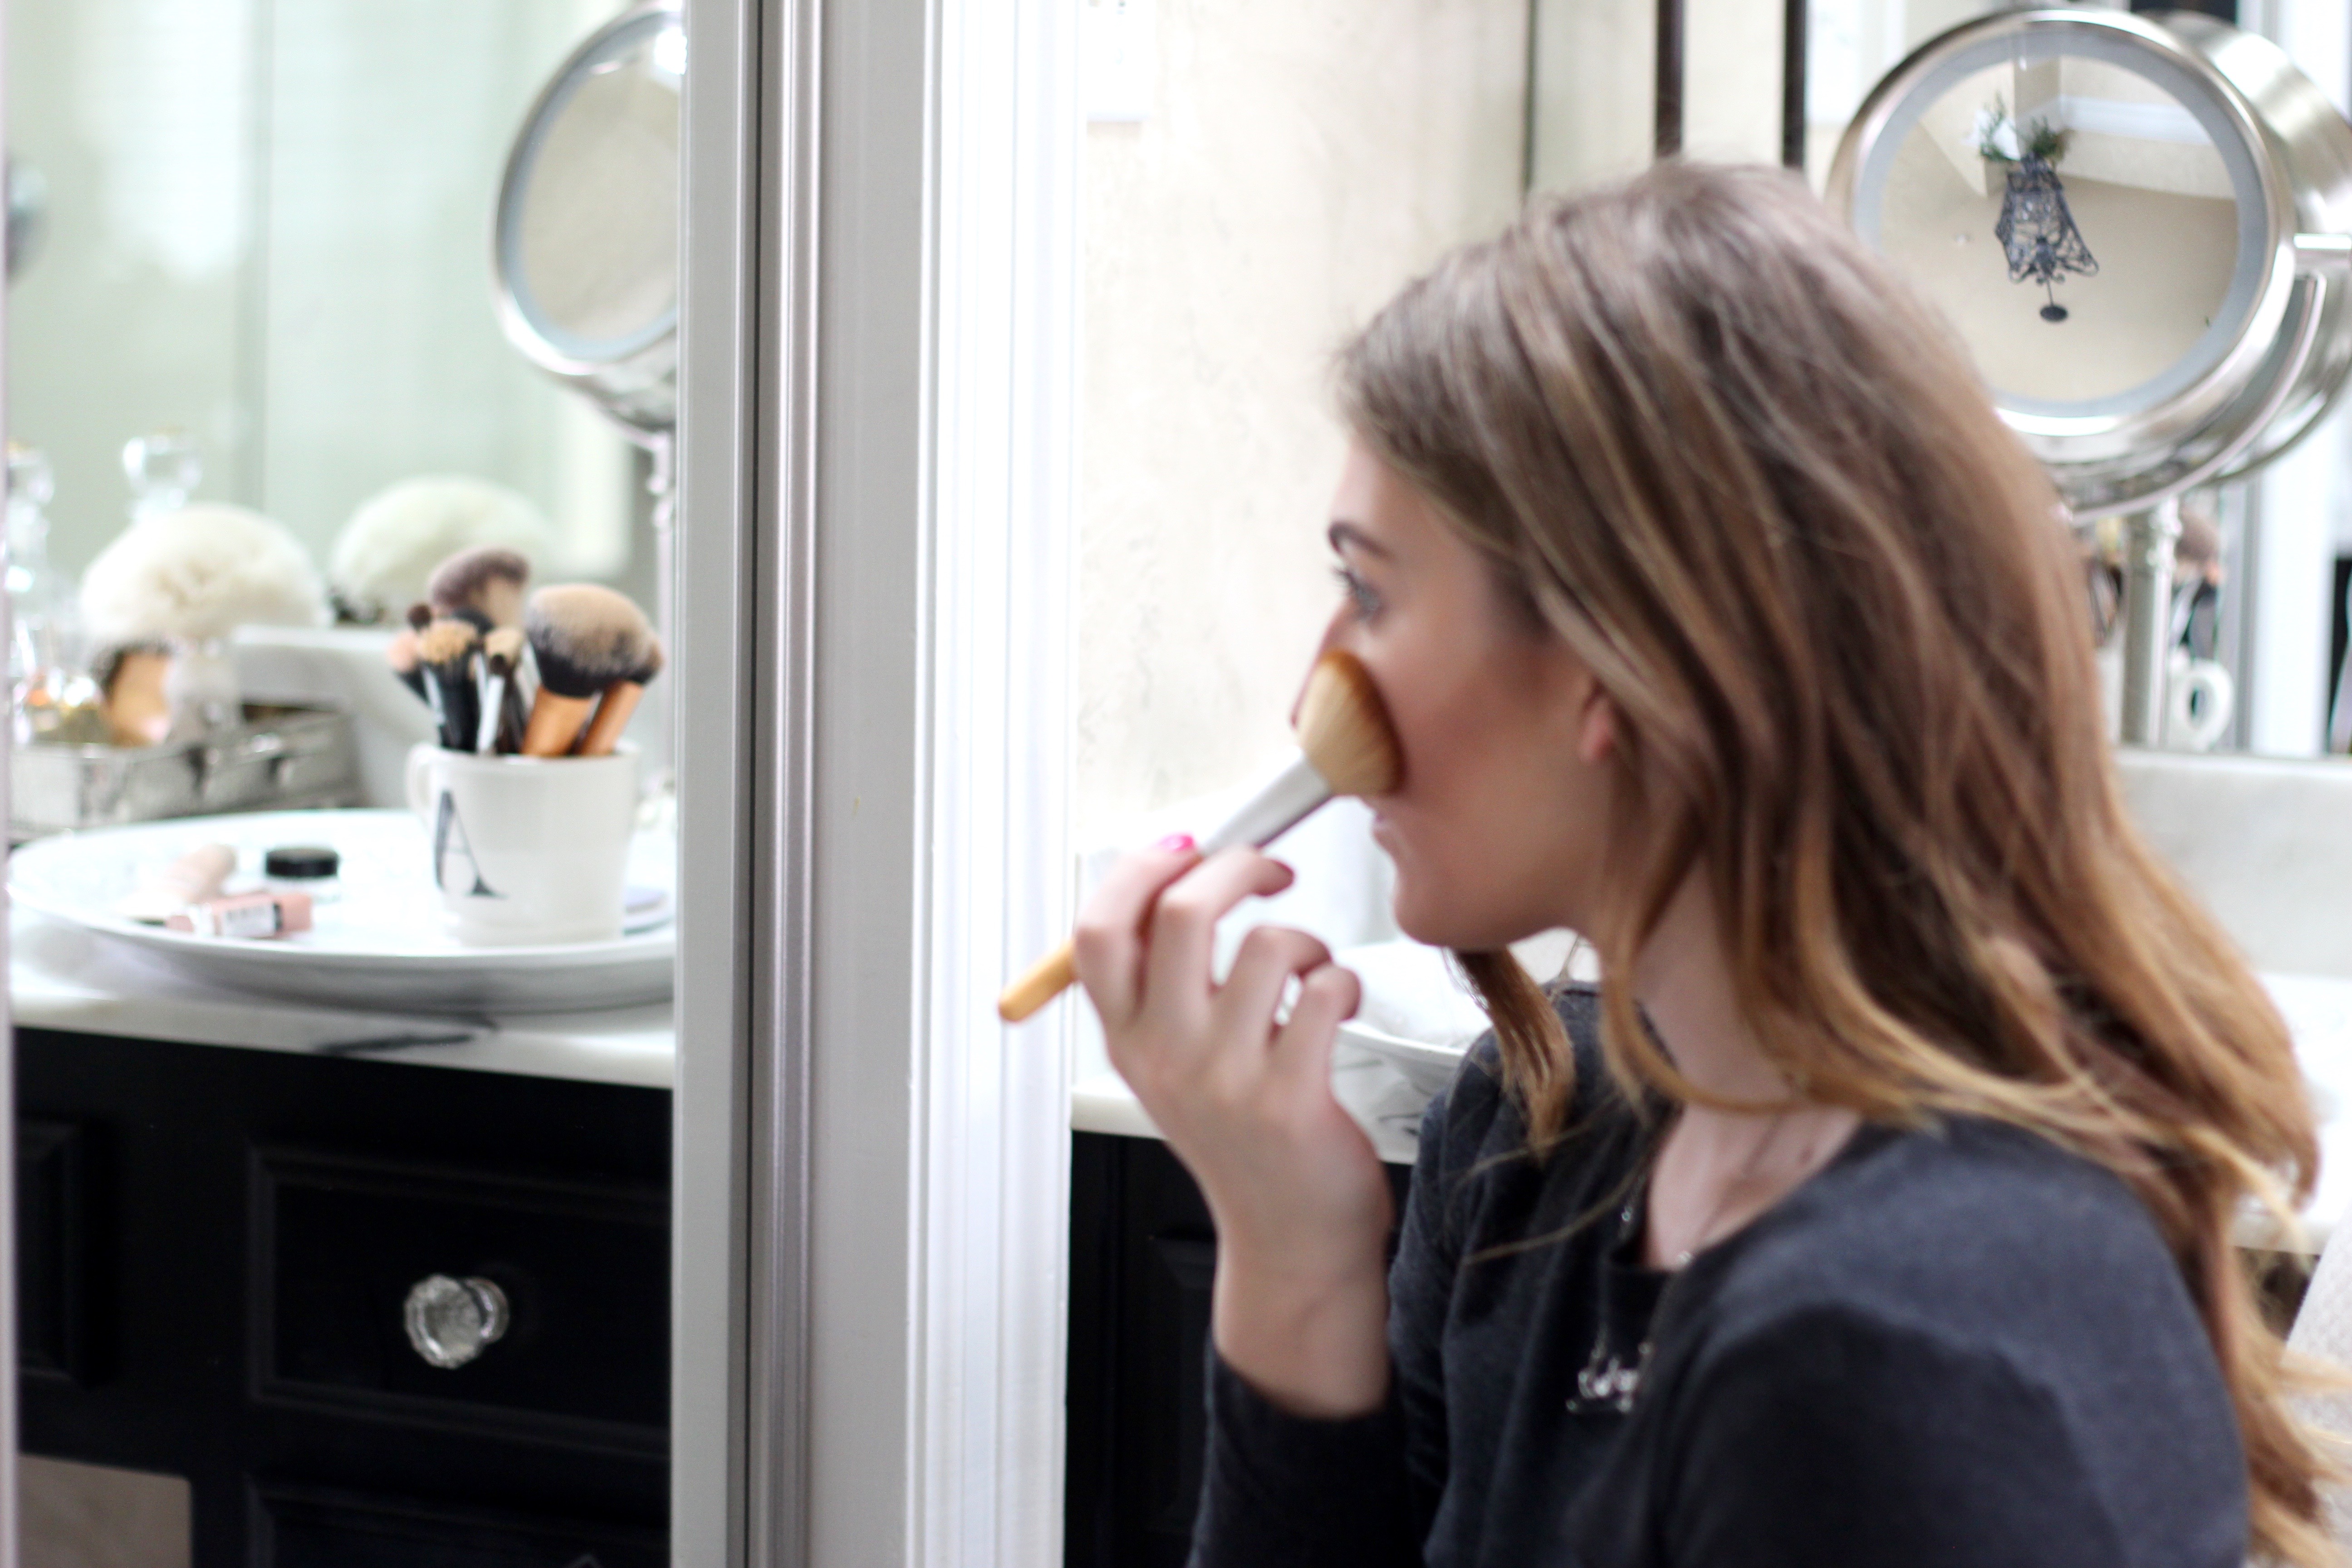
Step two of the contour palette, blend in your blush! The color in this palette is a pretty pink color that is perfect for everyday. After you put on your bronzer, apply your blush to enhance your rosy cheeks!
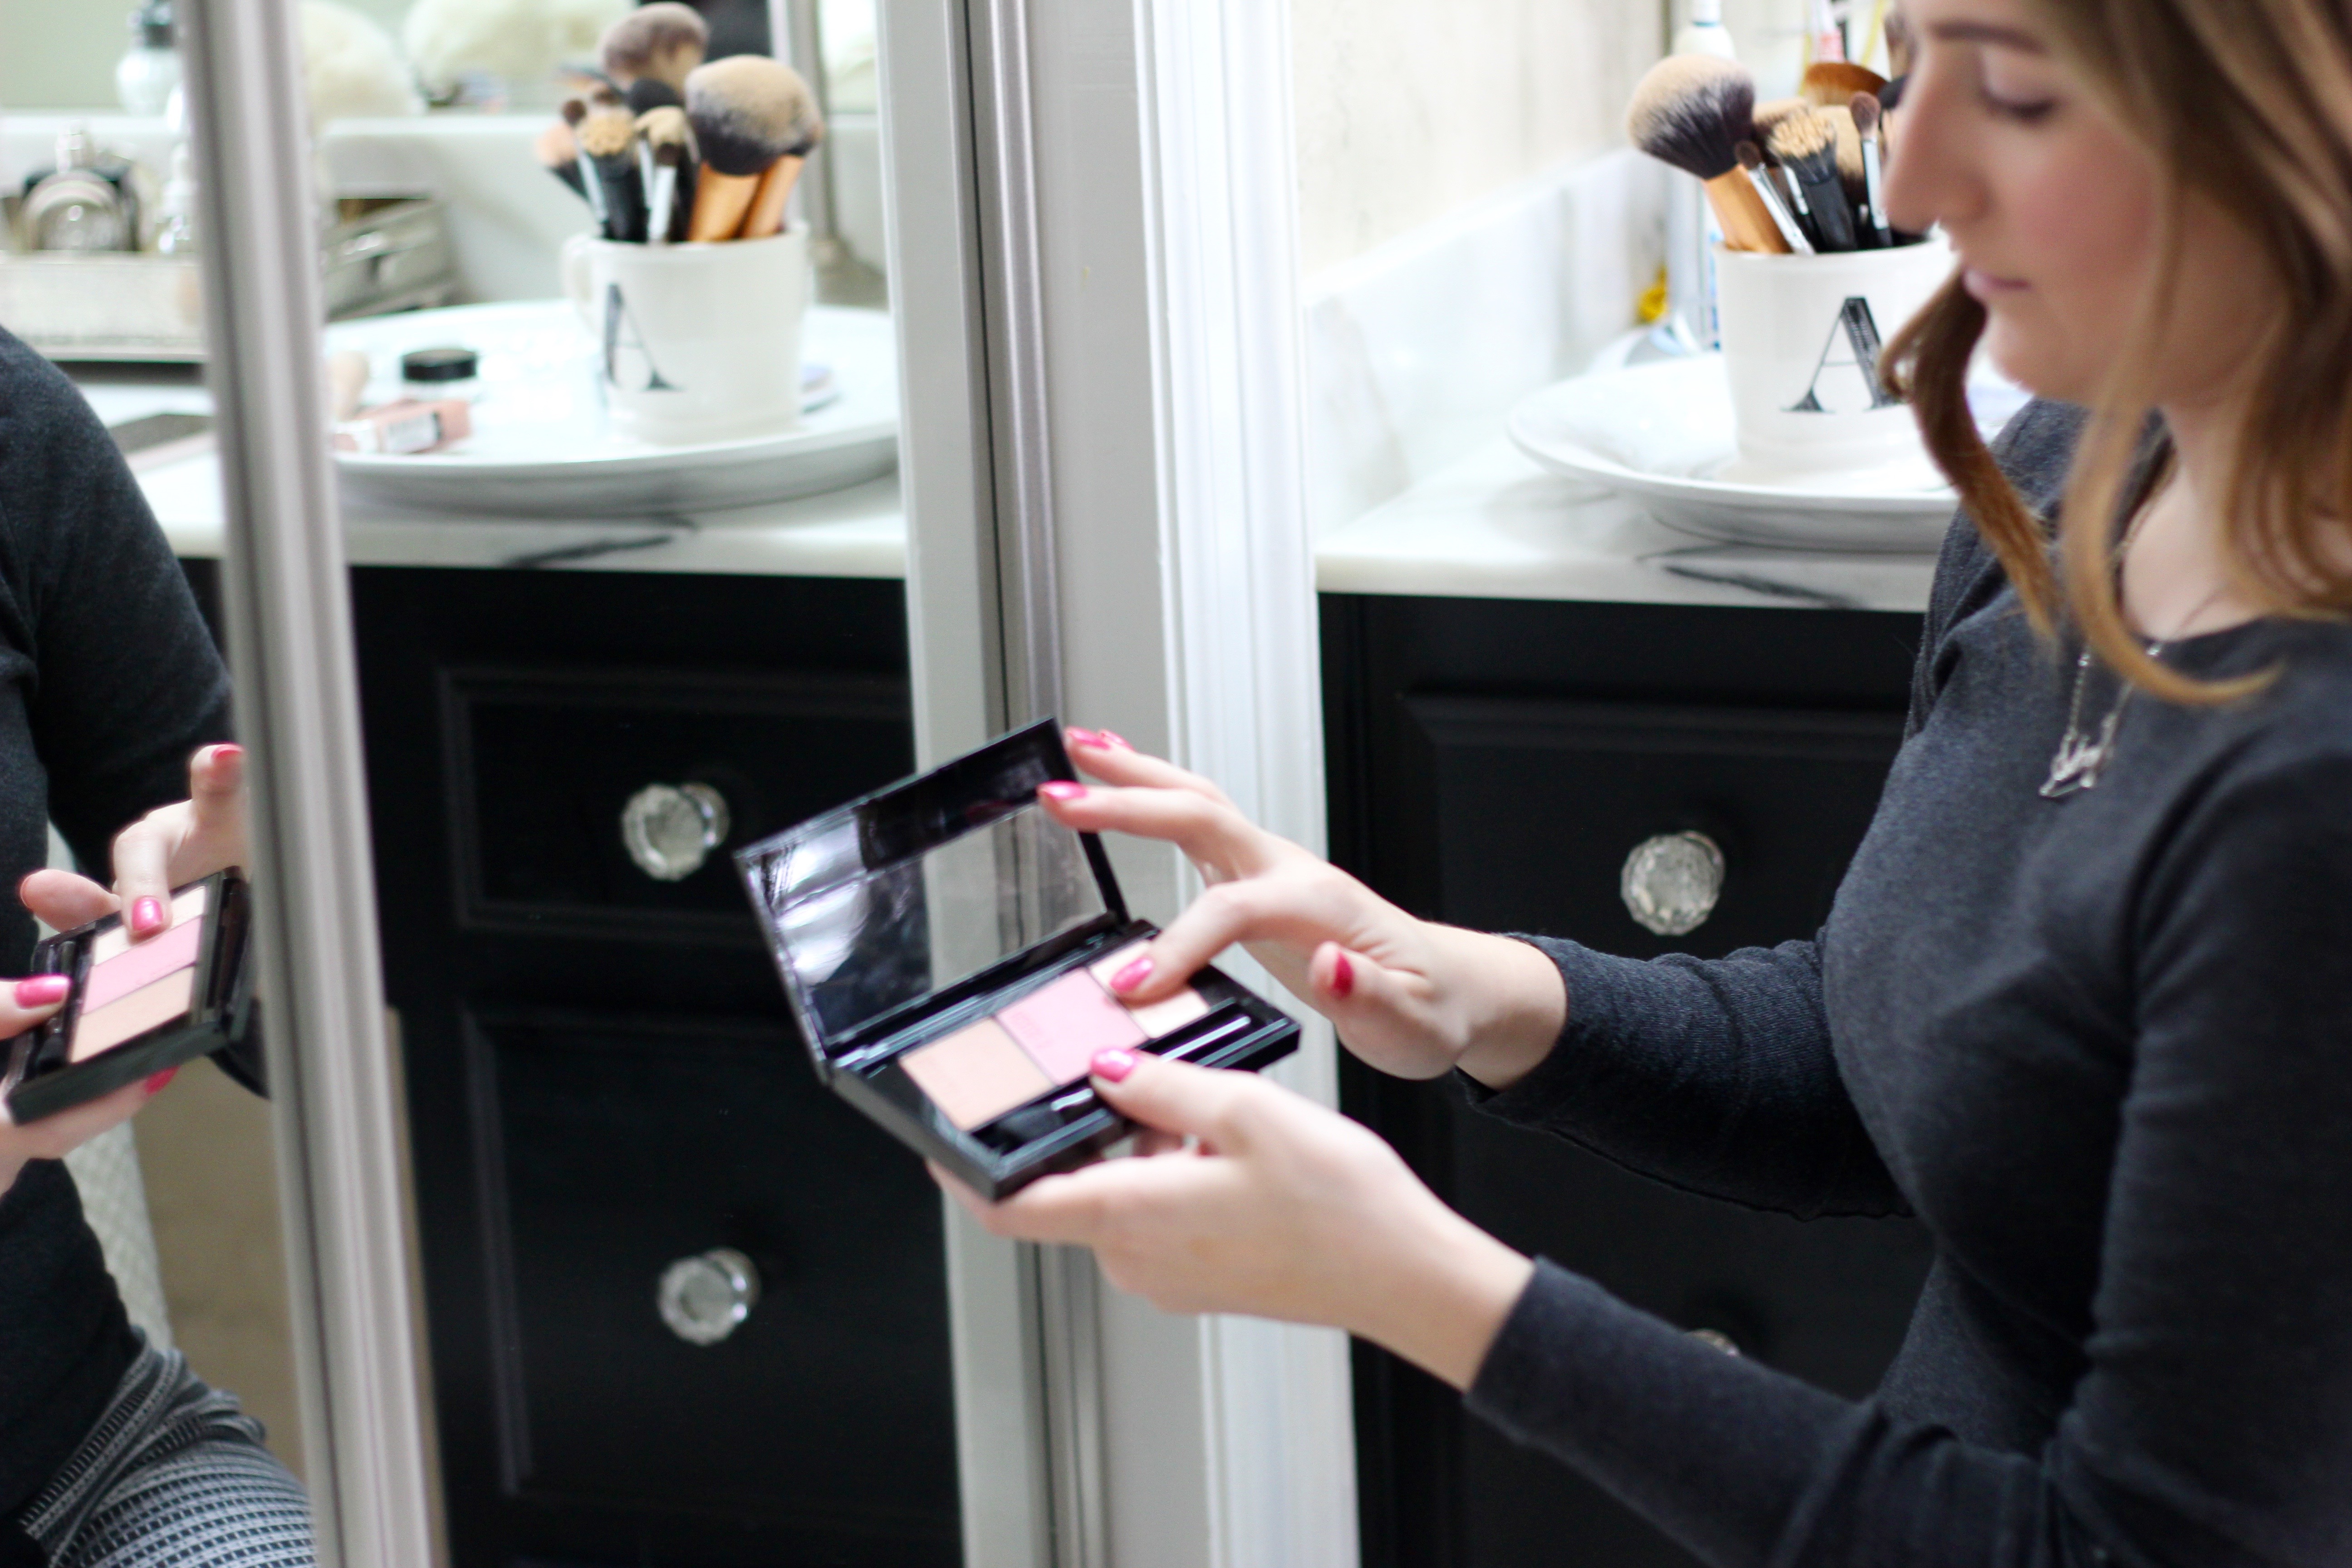
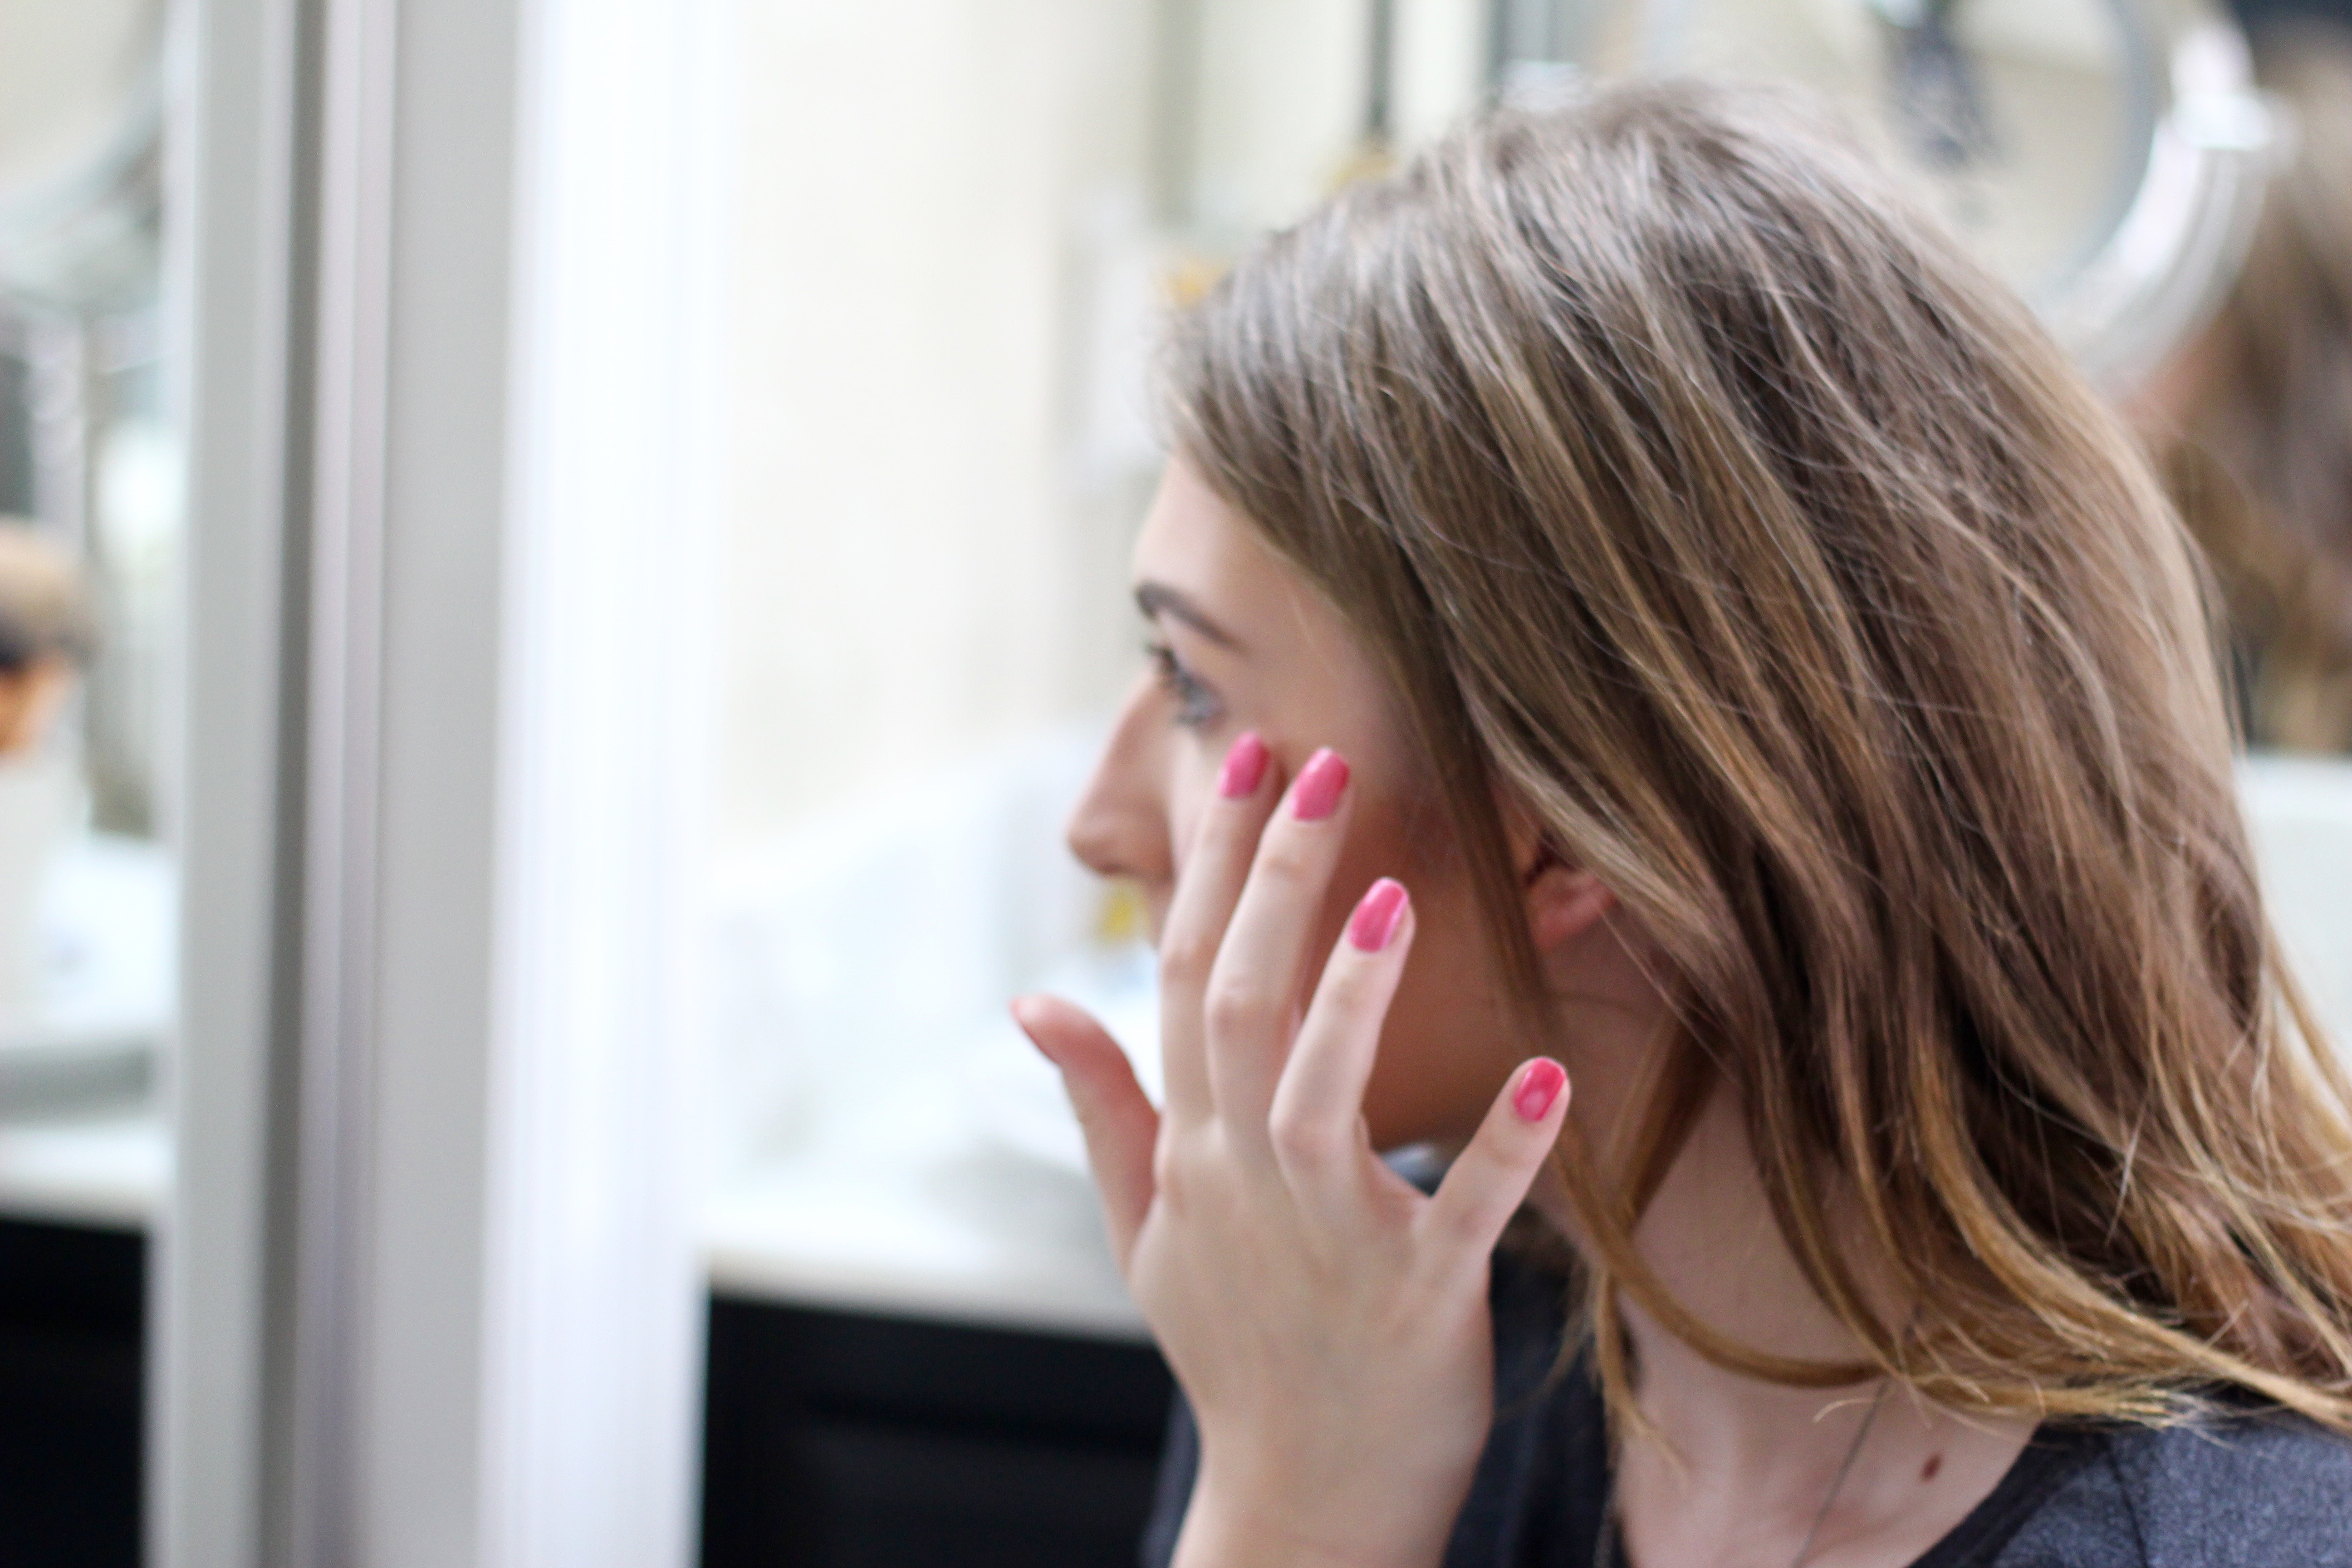
Step 3: Add a glow to your skin. I use my fingers because I just think it’s easier… and I put it on the top of my cheekbones and on the bridge of my nose. Your skin is glowing and contoured in all the right places after this step!
This palette is my go to and perfect for on the go.
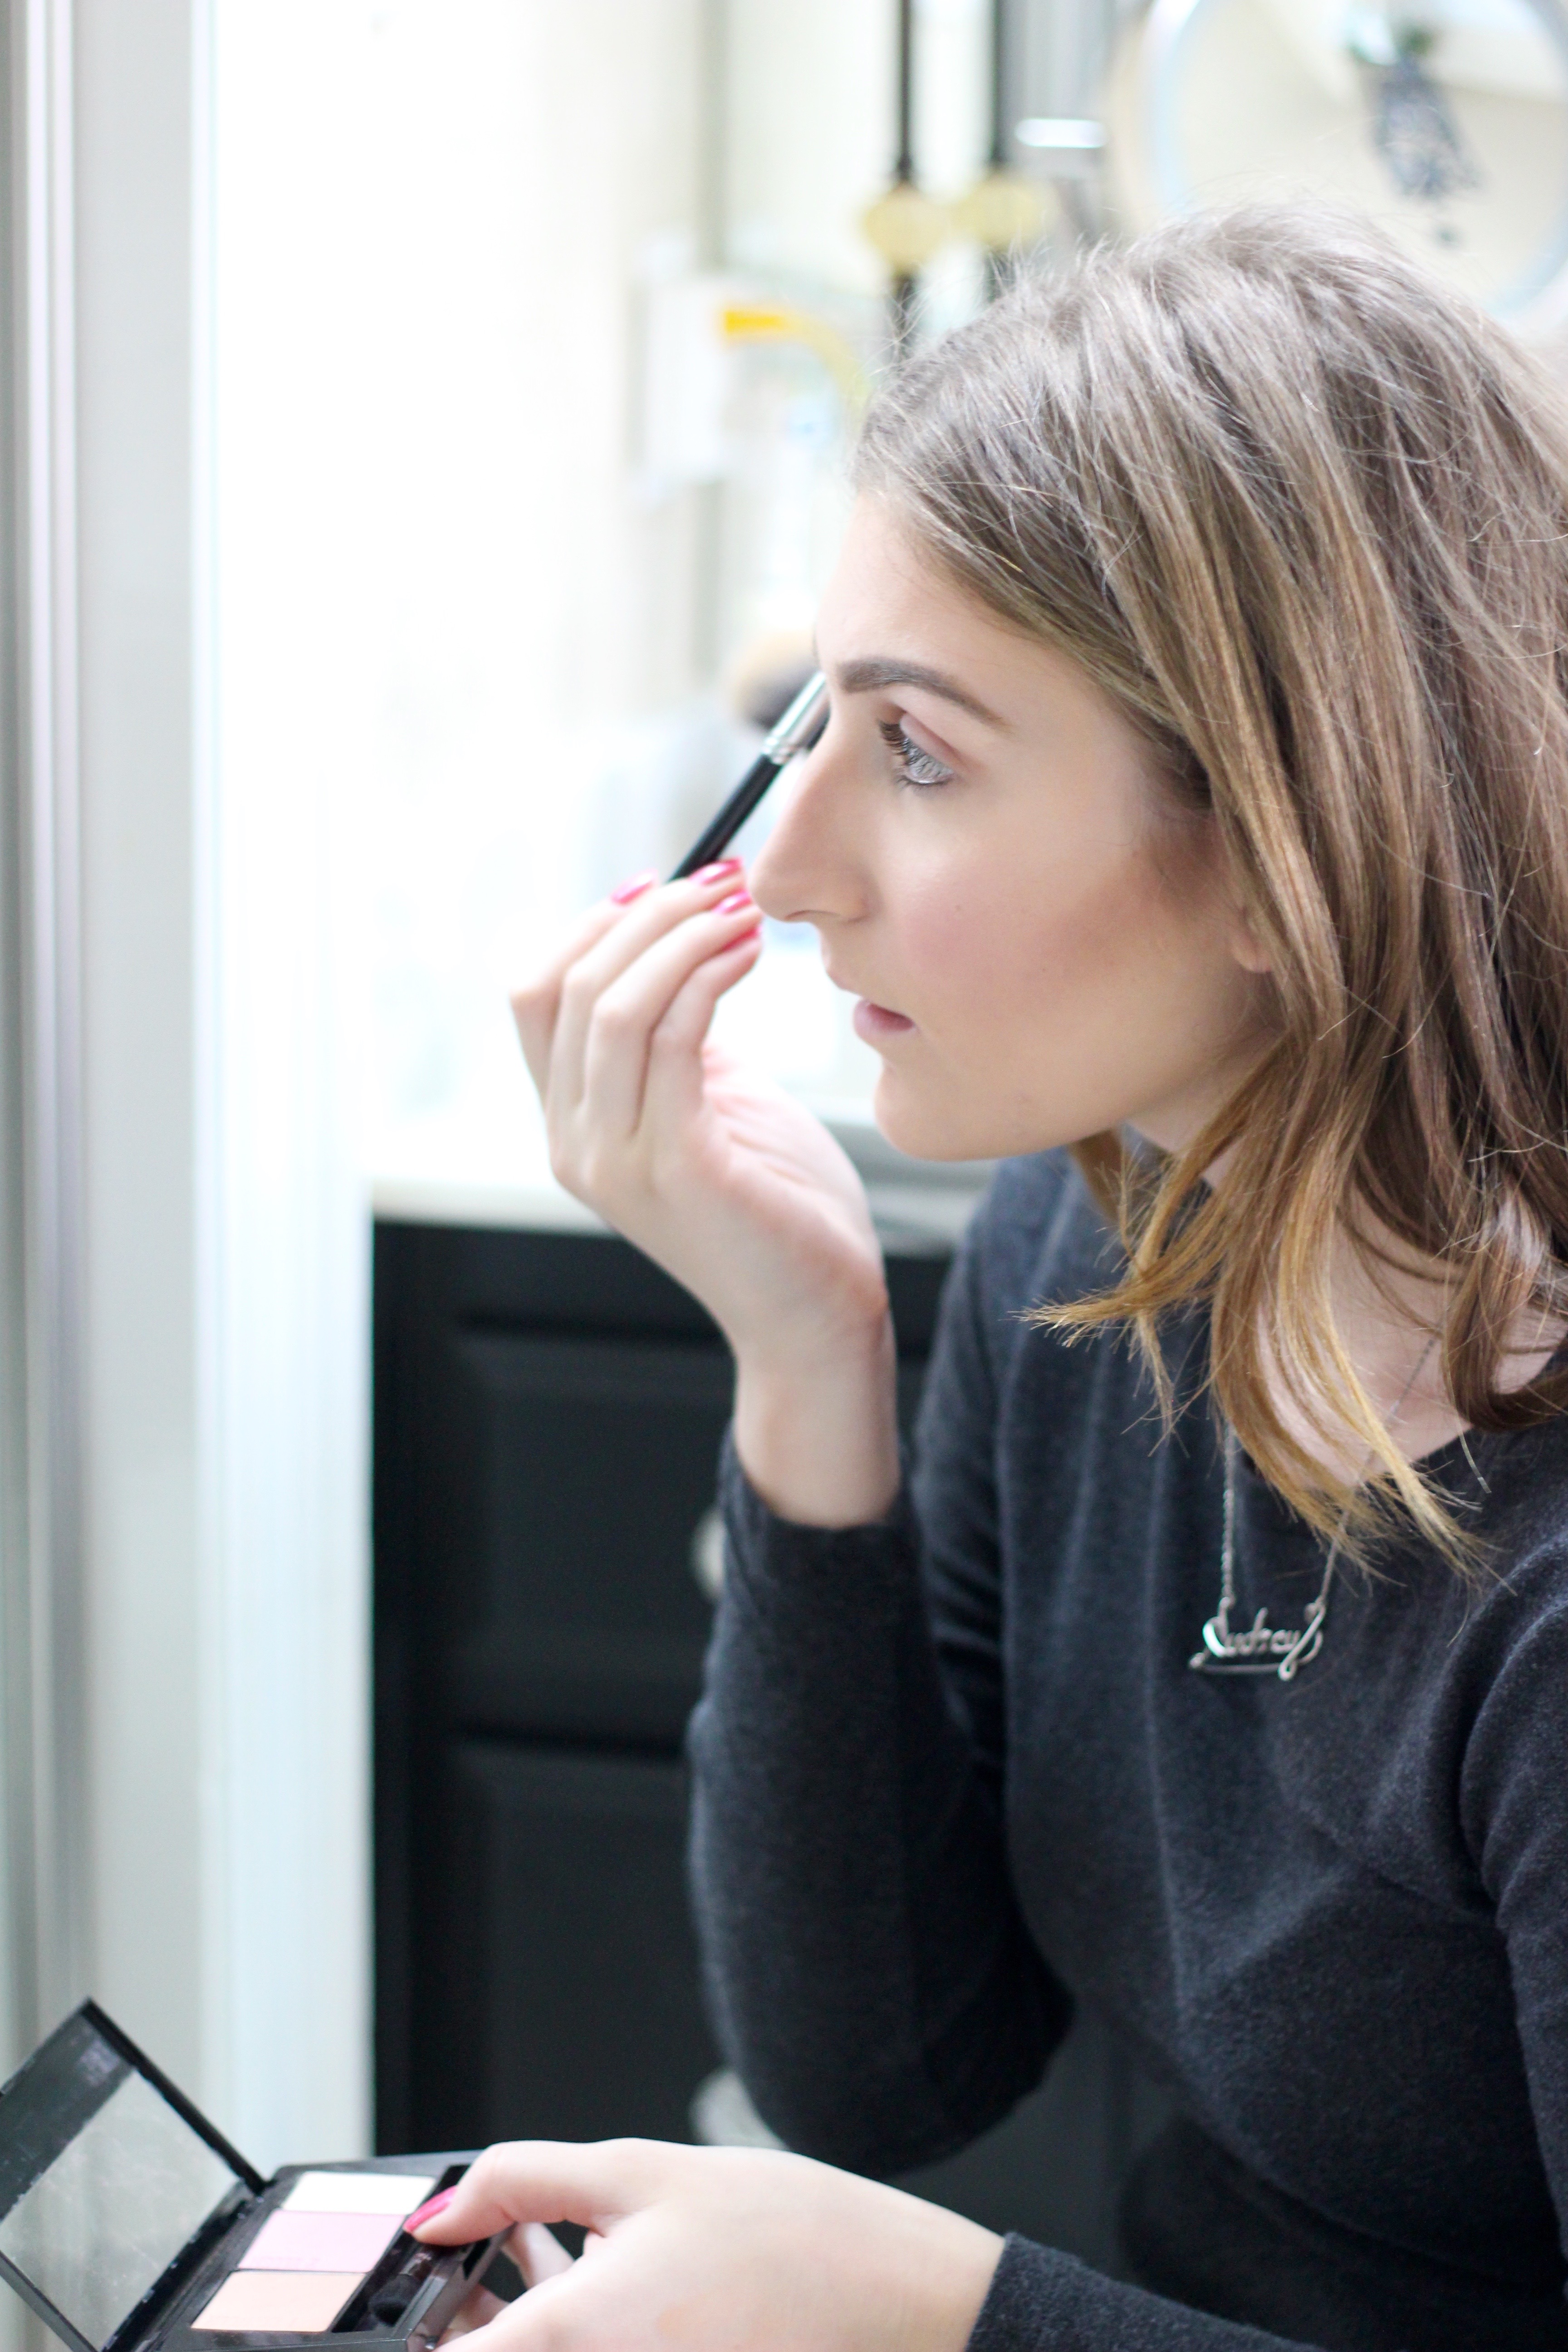
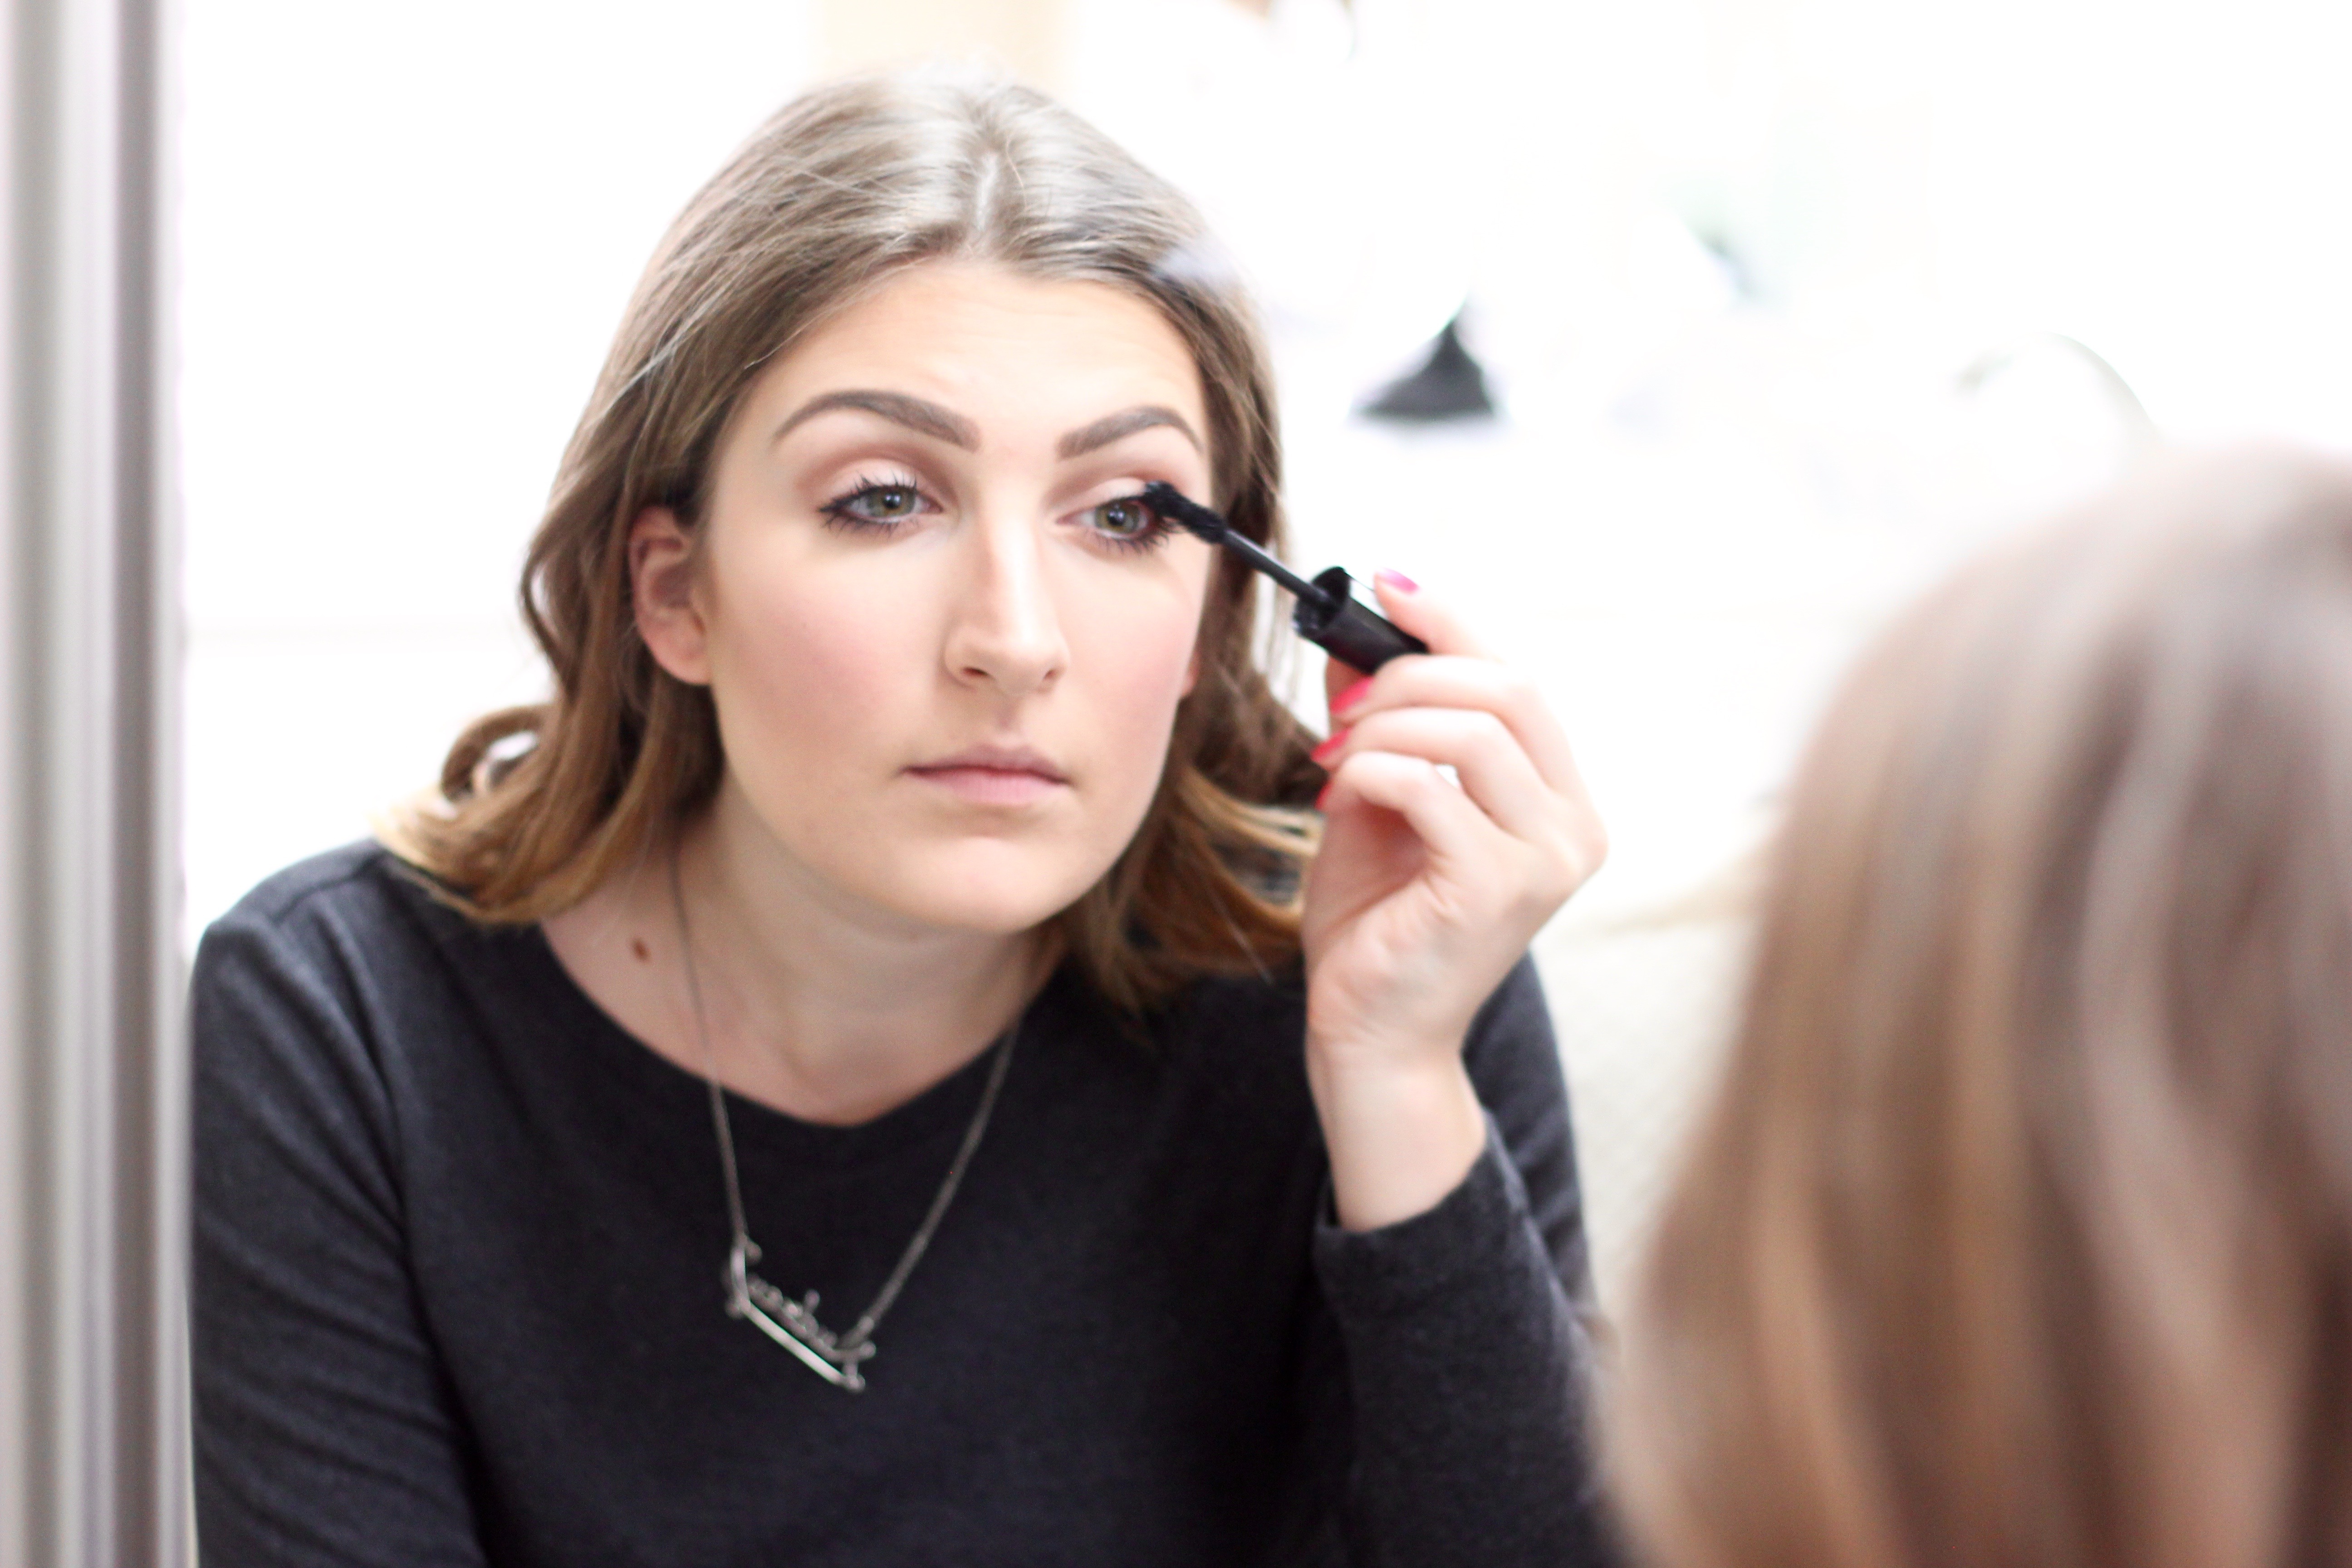
If you really want to make this most out of this palette, I like to use it on my eyes too. I take the bronzer to blend in my crease, and the highlight color on the base of my lid. It’s seriously so easy and you can do so much with this little palette.


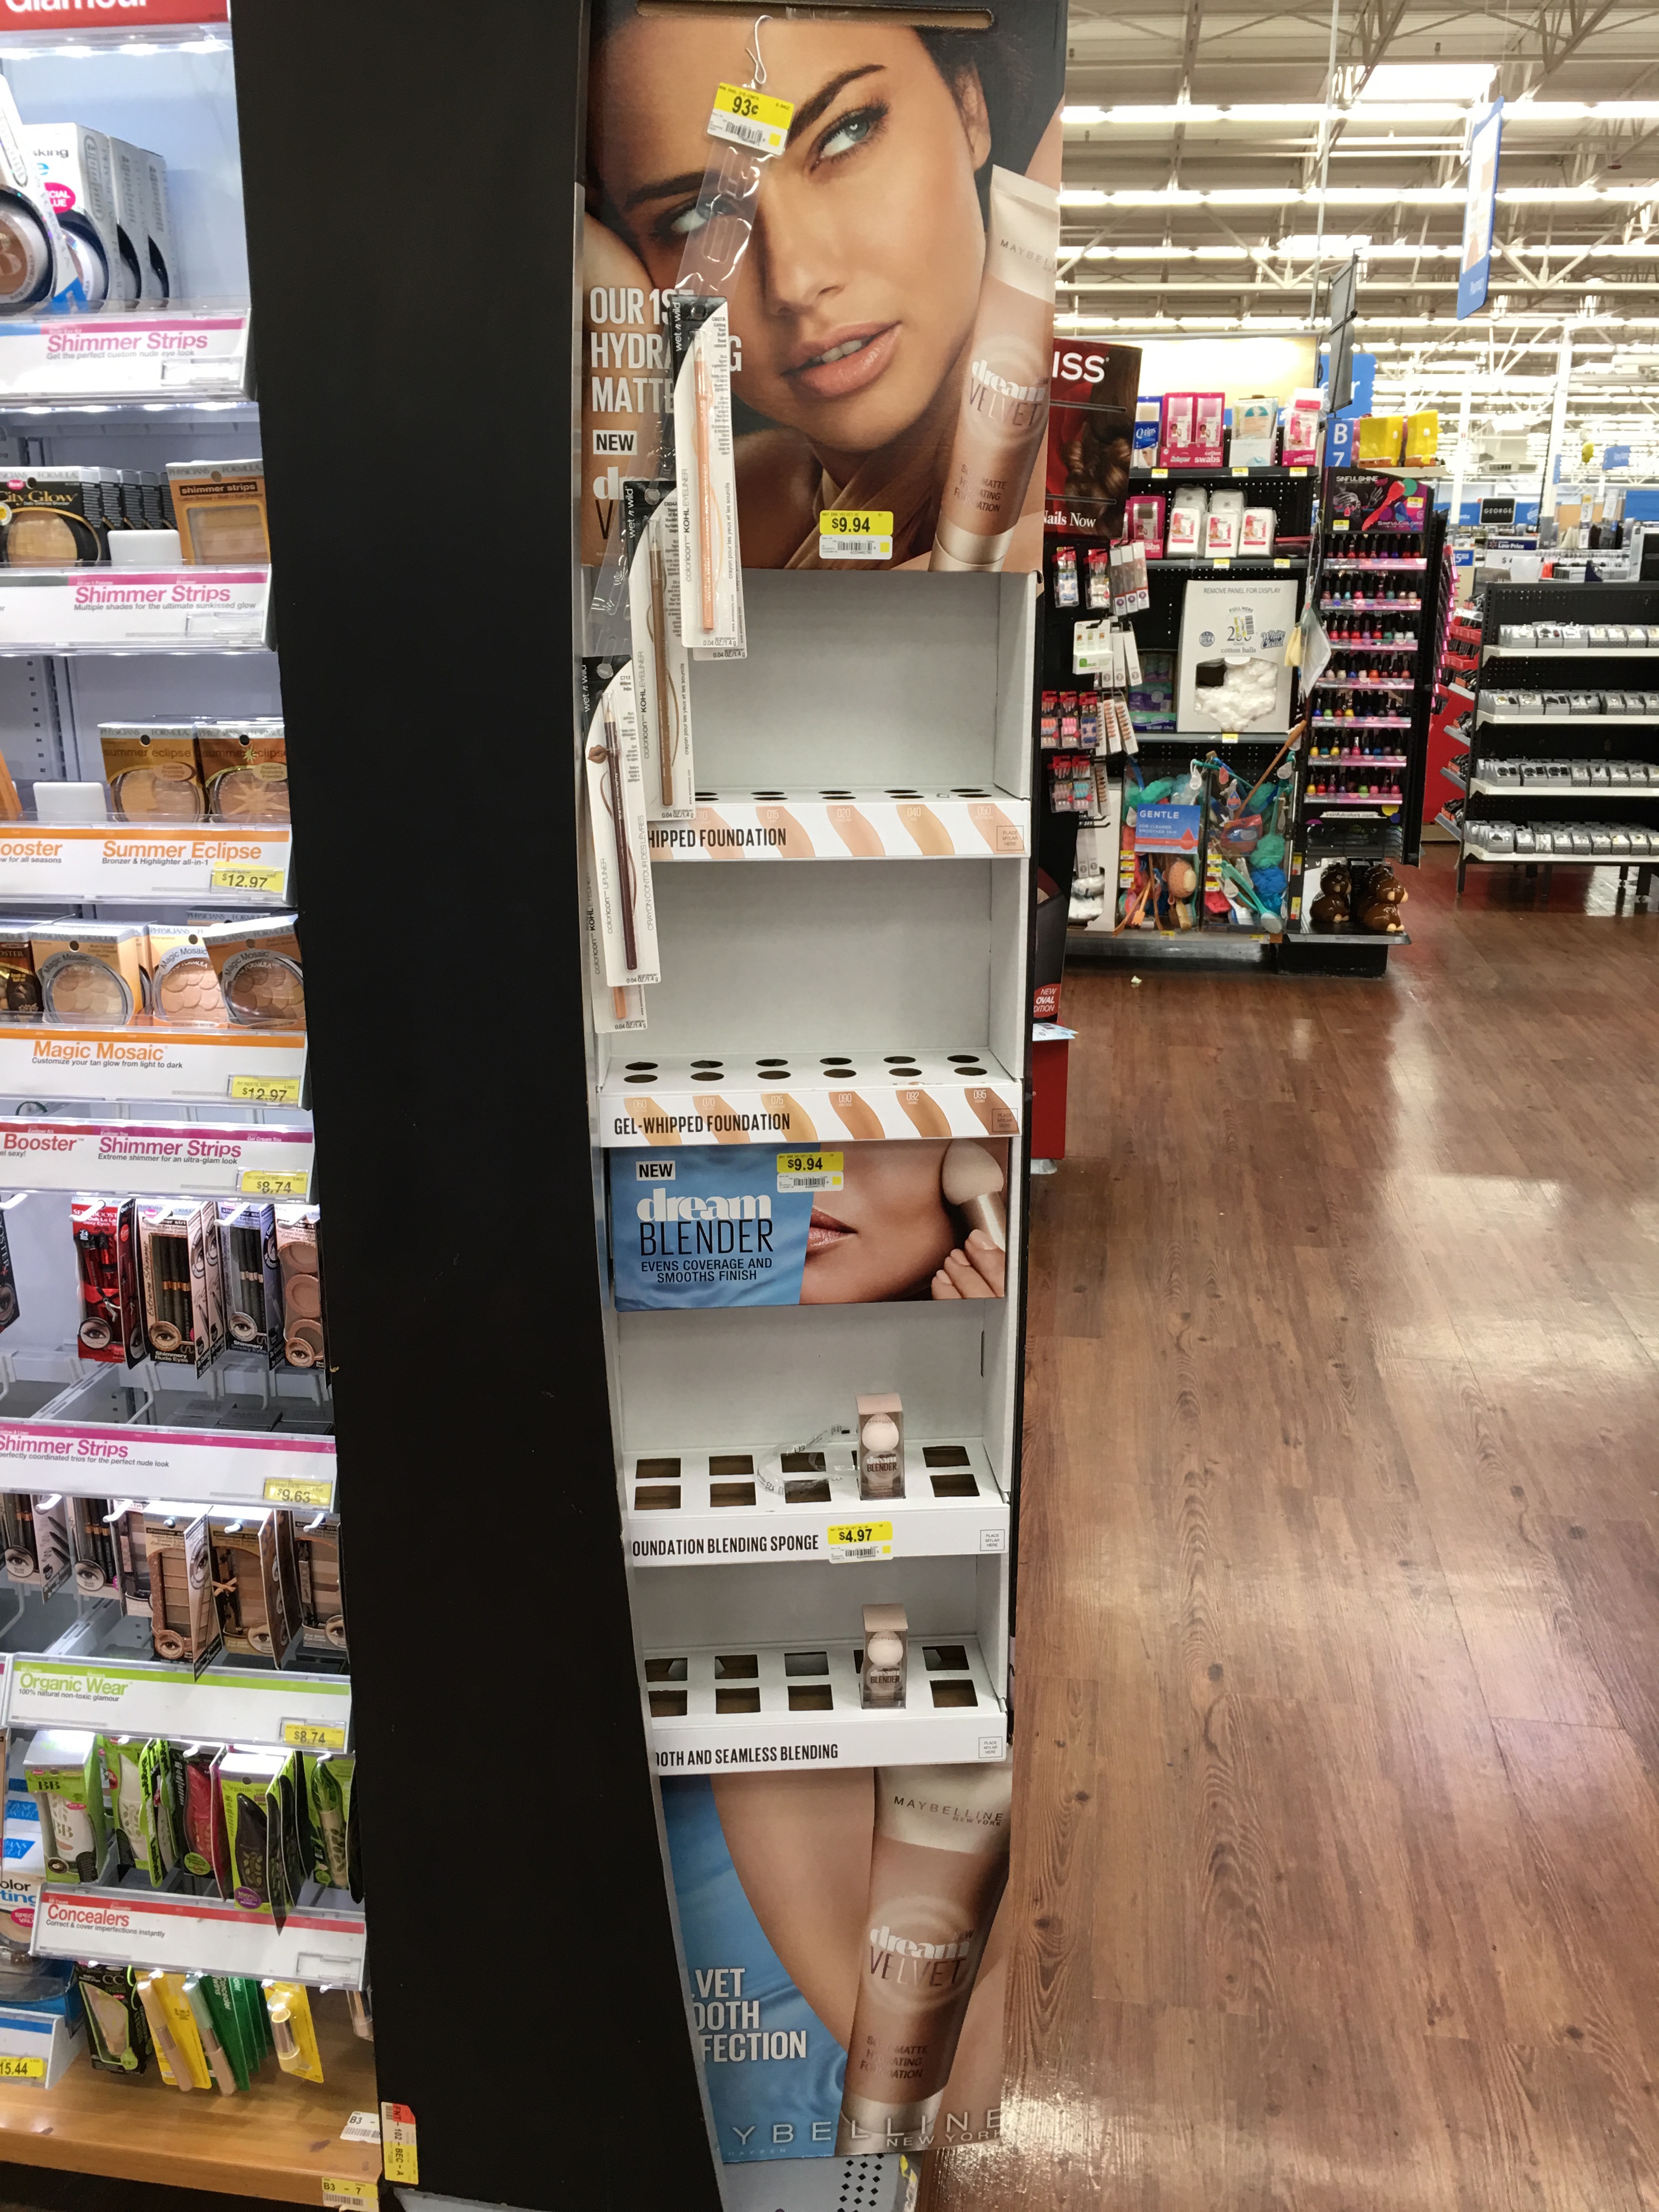
And that’s the look!! I hope this helps those in need of learning to contour, or just a fun read about a new product for those who love contouring… You can find these products in Walmart in the cosmetics section. Here’s a photo to help:
What is your favorite Maybelline product!?
Thank you pretties for reading! Have a fabulous weekend!
You May Also Like:
2024 Audrey Martinez | Brand and Website by Embolden
The Blog
The Site
Join the List
Sign up for my monthly catchup of life events,
product roundups, exclusive content and more!
